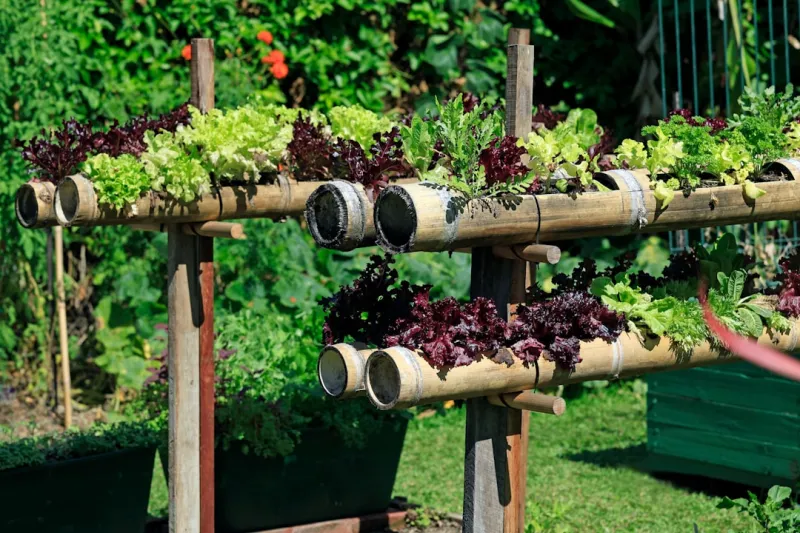
How to create a vertical garden using repurposed wine bottles and reclaimed wood
Introduction
Vertical gardening has surged in popularity, not just for aesthetic appeal, but also for its practicality in maximizing small spaces. If you live in an apartment with limited outdoor space or simply want an eye-catching feature in your backyard, a vertical garden can be the perfect solution. This DIY project is particularly special because it involves repurposing wine bottles and reclaimed wood, contributing to sustainability and reducing waste.
Creating a vertical garden is not only suitable for those looking to beautify their living space, but it also offers multiple benefits. First and foremost, it allows you to grow herbs, vegetables, or decorative plants without occupying much floor area. You can genuinely benefit from homegrown produce or a source of fresh herbs right on your balcony or patio. Additionally, vertical gardens can also improve air quality, reduce noise pollution, and provide a habitat for beneficial insects and birds.
For those concerned about their gardening prowess, fear not! This project is beginner-friendly and can be completed in a couple of hours, depending on the number of plants you wish to include. The step-by-step guide below will help you transform simple wine bottles and wood into a striking and functional vertical garden. Gather your materials and tools, roll up your sleeves, and let’s get gardening!
Tools Needed
1. Drill: Essential for creating holes in the wine bottles and wood. A power drill will save you time and ensure clean and precise holes.
2. Screwdriver: Used for attaching various components of the vertical garden, particularly if using screws to secure the wine bottles to the reclaimed wood.
3. Saw: A hand saw or power saw is necessary for cutting the reclaimed wood to your desired dimensions, ensuring the vertical garden structure fits your space.
4. Sandpaper: To smooth out any rough edges on the wood, preventing splinters and ensuring a clean finish.
5. Tape measure: Accurate measurement is crucial for planning and cutting your wood pieces and positioning the wine bottles evenly.
6. Level: Ensures the vertical garden is hung straight, which is essential for both aesthetic appeal and functionality, as uneven hanging can affect water drainage.
7. Gloves: Protect your hands while working with wood and glass, especially when cutting or drilling materials.
8. Safety glasses: Important for protecting your eyes from wood and glass debris while cutting and drilling.
Materials
1. Wine Bottles: 6–8 bottles (or more depending on size) — Ensure they are clean and free of labels.
2. Reclaimed Wood: 1-2 planks (around 1" thick and 6-8" wide) — Wood that is weathered adds character and ensures sturdiness.
3. Twine or Strong Rope: 20 feet — Useful for tying the wine bottles to the wood structure securely.
4. Planting Soil: 2 bags (potting mix recommended) — High-quality, well-draining soil is essential for healthy plant growth.
5. Plants/Seeds: Various (6-8 small plants or seed packets) — Herbs like basil, mint, or petite flower plants for color.
6. Drill Bits: Various sizes — To accommodate the holes you'll need for drainage and attachment.
7. Wood Screws: 10-15 screws — If you choose to secure the bottles with screws, these will hold them in place.
8. Paint or Stain (Optional): 1 can — To finish the wood and provide weather resistance, prolonging its life outdoor.
9. Watering Can or Hose: For watering plants once they're established.
10. Plastic Plant Labels (Optional): 10-12 labels — To keep track of different plant types if you choose to grow more than one kind.
Step 1: Gather Your Materials
Before starting, gather all your materials in a well-ventilated workspace. This not only ensures you have everything you need but also makes the process smoother. Cleaning the wine bottles and removing their labels is crucial, as any residue can affect plant health. You might want to soak the bottles in warm, soapy water to expedite this process.
# Tips:
- Use a utility knife to remove stubborn labels.
- Ensure that the bottles are free from chips or cracks.
Step 2: Design Your Layout
Next, design how your vertical garden will look. Lay out your reclaimed wood planks to determine the best arrangement for the wine bottles. Whether you want a symmetrical look or a more organic layout, plotting it out can help avoid surprises later.
# Tips:
- Sketch a plan on paper.
- Use painter's tape on the wall to visualize where you plan to hang the vertical garden.
Step 3: Cut your Reclaimed Wood
Using the tape measure, measure out the desired lengths for your wooden planks and then use the saw to cut them. Common lengths range from 4 to 6 feet, depending on your space. The width can be between 12 and 18 inches, depending on the amount and size of plants you intend to grow.
# Safety:
- Always wear safety glasses and gloves while cutting wood.
- Make straight cuts; this will help the final product look polished.
Step 4: Prepare Wine Bottles for Planting
Now, take your cleaned wine bottles and drill holes in the bottom of each for drainage. Drill through the glass carefully. If you find it tough, place a block of wood underneath to provide extra stability while drilling.
# Tips:
- Start with a smaller drill bit and gradually increase the size.
- Use glass-drilling bits; they are specifically designed to handle drilling through glass.
Step 5: Attach Bottles to Wood
Once your bottles are prepped, it’s time to attach them to the reclaimed wood. Decide whether you want to use twine or screws. If using twine, wrap it around the neck of each bottle and tie it securely. For screws, align the bottle at the desired height and drill through the bottle and into the wood.
# Tips:
- Space the bottles evenly to maintain a uniform aesthetic.
- Consider plant growth and ensure they won’t overcrowd each other.
Step 6: Position Plants in Bottles
With your bottles secured, it’s time to fill them with planting soil. Leave a few inches of space below the bottle neck for the plants. Gently place your plants or seeds into the bottles, ensuring enough soil surrounds their roots.
# Tips:
- Choose lightweight plants that can thrive in smaller spaces.
- Water the plants after planting to settle the soil.
Step 7: Prep the Vertical Garden Structure
Upon completing bottle attachments, it’s beneficial to weather-proof your reclaimed wood using paint or sealant if it will be exposed to the elements. Allow for adequate drying time according to the product instructions.
# Safety:
- Work in a well-ventilated area, and always use a mask and gloves when working with paint and sealants.
Step 8: Hang Your Vertical Garden
Find a suitable wall or surface to mount your vertical garden. Use a level to ensure that your structure is straight. Use appropriate wall anchors or hooks depending on the weight of your finished garden. Secure the wood firmly to avoid any mishaps.
# Tips:
- If mounting on drywall, ensure you find the studs for extra support.
- Leave enough space behind the bottles for airflow.
Step 9: Maintenance and Care
Once hung, water your plants regularly, ensuring not to over-saturate. As herbs grow taller or if using flowering plants, ensure to prune and trim them. This step helps maintain the aesthetic and allows for better air circulation.
# Tips:
- Use a long-nosed watering can for precise watering.
- Check for pests or diseases regularly and remove any dead leaves.
Step 10: Seasonal Adjustments
As seasons change, consider influencing plants in your vertical garden. In colder months, you may need to bring tender herbs indoors or replace them with hardier winter plants. During the summer, ensure adequate water supply and watch for plant growth intensity.
# Tips:
- Layering different types of plants can create visual interest throughout seasons.
- Consider using seasonal plants near eye level for seasonal enjoyment.
Troubleshooting
1. Drainage Problems: If water pools at the bottom of the wine bottles, check if the holes are large enough. Drill more if necessary. Consider using smaller stones at the bottle base to enhance drainage.
2. Plants Wilting: This could be due to over or under-watering; ensure you're checking soil moisture regularly. Invest in a moisture meter for precision.
3. Bottles Falling: If the bottles are not secure, use both screws and twine for added safety. Ensure that the mounting surface is solid.
4. Glass Breakage: Handle wine bottles with care while drilling and lifting. Avoid using metal clips to secure bottles, which can create fractures under stress.
5. Dying Plants: If plants aren't thriving, observe factors like sunlight, humidity, and temperature. Adjust their position to achieve optimal growth conditions, ensuring they’re receiving adequate light.
Conclusion
Creating a vertical garden using repurposed wine bottles and reclaimed wood is an enriching home project that beautifies your space while promoting sustainability. Not only is it an eco-friendly practice, but it also allows creativity and personal expression in managing your garden.
Once your vertical garden is established, you can enjoy the fruits of your labor by nurturing herbs and plants all year round. Moreover, variations can range from entirely different bottle arrangements to incorporating additional materials like driftwood or metal frames to suit your style.
Maintenance is straightforward—just ensure you regularly check for growth, pests, and watering needs. Experimenting with seasonal plants will keep your garden fresh and continually engaging.
So, gather your materials, get creative, and enjoy the process of transforming your vertical space into a vibrant garden oasis!