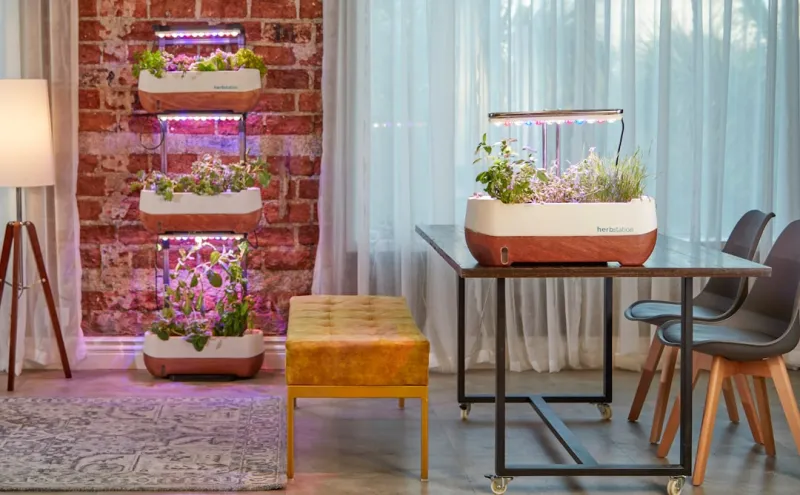
How to create an indoor vertical garden with repurposed plastic bottles and fairy lights
Creating an indoor vertical garden can be a rewarding and fulfilling project, especially when it involves repurposing plastic bottles and adding the enchanting touch of fairy lights. This DIY venture not only enhances your living space but also promotes sustainability by giving new life to materials that might otherwise end up in a landfill. As more people embrace eco-friendly living, indoor gardening has gained immense popularity. With a vertical garden, you can beautify your home while enjoying the myriad benefits of plants, such as improved air quality, increased humidity, and a serene ambiance.
The project is fairly simple and suitable for beginners. You need minimal gardening skills to embark on this journey. If you're new to gardening, it presents an excellent opportunity to learn about plant care, choosing the right species, and understanding their water and light requirements. Plus, setting up the fairy lights adds an extra layer of creativity, allowing you to customize the aesthetic of your garden.
In this guide, we'll delve into the materials needed, provide you with an easy-to-follow step-by-step process, explore potential troubleshooting issues, and offer maintenance tips to ensure your vertical garden thrives. Let's transform your space into a green oasis of life, beauty, and relaxation!
Tools Needed
Here is a concise list of tools you'll need for your indoor vertical garden project:
- Utility Knife: Essential for cutting the plastic bottles precisely to create openings for planting.
- Drill with a Small Bit: Perfect for making drainage holes in the bottoms of the bottles to prevent water accumulation.
- Scissors: Handy for trimming the plastic and making adjustments as needed during the project.
- Paintbrush: Ideal for applying adhesive or paint, if you want to decorate your bottles.
- Measuring Tape or Ruler: Ensures accurate spacing and placement of your bottles on the frame or wall.
- Level: Necessary to ensure your vertical garden hangs straight, providing a polished and professional finish.
- Gardening Gloves: Important for protecting your hands during planting, watering, and any potentially messy tasks.
Materials
Gather the following materials to create your vertical garden using repurposed plastic bottles and fairy lights:
- Plastic Bottles: Approximately 6–10 bottles (choose bottles with different shapes and sizes for aesthetic variety).
- Mounting Frame/Board: 1 (this could be a wooden pallet, a wooden board, or a metal frame).
- Potting Soil: 2-3 bags (ensure it’s suitable for your chosen plant types).
- Plants/Seeds: 6–10 (herbs, succulents, or small house plants depending on your preference).
- Drainage Stones: 1 bag (helps with drainage in the bottles).
- Fairy Lights: 1 set (LED is preferable for energy efficiency and less heat emission).
- Sandpaper: 1 pack (used to smooth any sharp edges after cutting the bottles).
- Twine or Strong String: 1 roll (for securing the bottles to the frame if you're using hanging bottles).
- Adhesive or Glue Gun: Optional, for securing decorative features or attaching the bottles directly onto the frame.
- Decorative Paint (optional): 1-2 colors (if you want to personalize the bottles and make them more visually appealing).
The Steps
Step 1: Prepare the Bottles
First, you need to gather your plastic bottles. Rinse them thoroughly to remove any residue from their contents. Once clean, you can choose to cut them in half for open planting or create openings on one side for easy access. Use a utility knife to cut the bottles carefully—always remember to perform this step with caution. A smooth edge is essential to avoid injuries. After cutting, use sandpaper to round the edges so they don't pose any risks when handling.
Tip: Consider cutting a few different shaped bottles; it adds an interesting visual element to your vertical garden layout!
Step 2: Create Drainage Holes
Once your bottles are prepared, use a drill with a small bit to make drainage holes at the bottom of each bottle. Good drainage is essential to prevent root rot and overwatering. Make sure the holes are evenly spaced; typically, two or three holes will suffice depending on the size of the bottle.
Tip: Placing a thin layer of pebbles or stones at the bottom before adding soil will provide extra drainage.
Step 3: Mount the Frame or Board
Select a wall or area in your home where you want to hang your indoor garden. Use a level and a measuring tape to position the frame where it will catch sufficient light. Mark the spots where you will need to drill to mount the frame securely to the wall.
Safety Tip: Use appropriate wall anchors if mounting on drywall to ensure that your garden stays securely in place.
Step 4: Assemble the Vertical Garden
If you’re using a frame, lay out your bottles on it in your desired arrangement. You can rearrange them until you’re happy with the visual balance. If the frame supports it, secure the bottles using twine or strong string, or attach them directly to the frame with a glue gun or adhesive.
Tip: Think about plant height and light needs when arranging. Taller plants or vines should be at the top, while smaller plants or herbs can go on lower levels.
Step 5: Fill with Soil and Add Plants
Fill each bottle with a mix of potting soil and drainage stones. This creates a good environment for your plants to grow. Make a small hole in the soil and carefully plant your chosen plants or seeds. Be mindful not to overcrowd the bottle as this can hinder growth.
Tip: Choosing companion plants can enhance growth and health; for example, basil and tomatoes thrive well together.
Step 6: Water the Plants
After planting, give your vertical garden a good watering to settle the soil. The ideal amount of water will depend on your plant choices; ensure the water drains through the holes and doesn’t accumulate at the bottom.
Tip: Use a watering can with a long spout to direct water precisely where it's needed without spilling onto the frame or surrounding walls.
Step 7: Add Fairy Lights
Now for the enchanting touch! Take your fairy lights and gently drape or wind them around your vertical garden. You can string them between bottles or outline the entire frame. If you’re using a battery-operated set, you can hide the battery pack cleverly behind the frame or along the bottom.
Tip: Choose warm white lights to create a cozy ambiance or colored lights to add a whimsical touch!
Step 8: Monitor and Maintain
Set a watering schedule that works for your plants, ensuring they receive enough light. Make adjustments as needed based on seasons and growth cycles. Get into the habit of inspecting for pests or any signs of disease. Regularly check that the fairy lights are functioning well, replacing any burnt-out bulbs as necessary.
Tip: Consider rotating your plants occasionally to ensure they grow evenly and receive adequate light exposure.
Troubleshooting
Even the best DIY projects can come with challenges! Here are some common issues you may encounter and their solutions:
- Problem: Water accumulation at the base of the bottles.
- Solution: Ensure adequate drainage holes are drilled, and consider reducing the amount of water given to each bottle.
- Problem: Plants appear weak or wilted.
- Solution: Evaluate their lighting conditions and watering schedule. Some plants prefer more light, while others thrive in shade.
- Problem: Plants are overcrowded.
- Solution: Thin out your plants by removing the weaker ones or transplanting them into separate containers.
- Problem: Fairy lights aren’t bright enough or aren’t functioning.
- Solution: Check the batteries (if battery-operated) and ensure connections are secure. If using plug-in lights, test the outlet with another appliance to ensure functionality.
- Problem: Pests or mold on the plants.
- Solution: Remove affected areas and apply an organic pest control solution or neem oil to prevent further infestation or mold growth.
Conclusion
Creating an indoor vertical garden using repurposed plastic bottles and fairy lights is an eco-friendly and visually stunning project that can dramatically enhance your living space. You not only contribute to reducing waste but also cultivate creativity and personal satisfaction as you see your plants thrive.
Remember, the beauty of this project lies in its versatility. You can experiment with various plant combinations, bottle shapes, and lighting styles to customize your indoor garden. With proper maintenance, this vertical garden will serve as a beautiful feature in your home, requiring minimal upkeep and offering numerous benefits.
The journey into gardening doesn’t have to stop here. Consider expanding your green oasis by adding more layers, plants, or even experimenting with hydroponics. Happy gardening!