Introduction
Garden Wall Using Upcycled Shipping Pallets And Sustainable
Materials
Garden Wall Using Upcycled Shipping Pallets And Sustainable
Materials
body.navh1.rating.hero-img.share.btn Garden Wall Using Upcycled Shipping Pallets And Sustainable
Materials
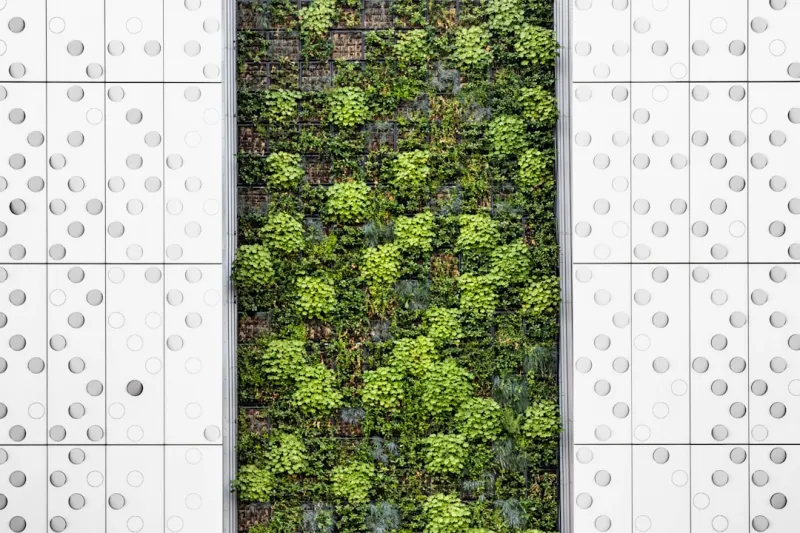
Why would someone want to garden wall? The answer lies in multiple benefits that resonate with today’s sustainable living ethos. With the rise in urban residence and dwindling ground soil quality, vertical gardens offer a creative approach to gardening without extensive space. By utilizing shipping pallets, this channels the spirit of upcycling, transforming what could be waste into a stunning vertical display of plant life.Additionally, vertical gardens mote biodiversity within your immediate surroundings and have been ven to improve overall air quality.
- Picture this: coming home to a wall cascading with vibrant greenery—fragrant herbs, colorful flowers, or maybe even fresh vegetables! It’s an instant Mood and provides a tranquil feeling in your home landscape.Skill
- Level: This is Beginner-friendly. It requires only basic tools and skills while allowing room for customization as you go. As a novice builder, you'll develop your DIY capabilities and discover the joys of planting and gardening in the process.
Step 1:
Gather Your
Materials
and ToolsBefore starting, organize your
materials
and tools in a designated workspace. This makes the process smoother and ensures you don’t spend time searching for items Midt.
Tip: Lay everything out and check off your list to ensure you have all the necessary items at hand.Safety
Tip: Always wear safety gloves, particularly when handling pallets, as they can contain nails or sharp edges.
Step 2:
Prepare the Shipping PalletsExamine your shipping pallets and ensure they are sturdy with no breakages or extreme weathering. If necessary, clean them to remove any dirt, dust, or mildew.How to: Use a brush or cloth with water and mild soap to scrub the surface. After cleaning, allow them to dry completely.
Tip: Sand rough edges and surface areas to smooth out any splinters, ensuring safety while handling.
Step 3:
Create a Stable StructureDecide how you want to arrange the pallets. For beginners, a single stacked pallet wall is advisable. Attach them together with wood screws or brackets to ensure stability.
What: Stack pallets vertically or side-by-side.
How: Use brackets at each corner for added security, ensuring that they can withstand weight from soils and plants.
- Safety
Tip: Have a friend help you hold the pallets in place while you secure them to avoid accidents.
Step 4:
Line the Back and PocketsTo retain soil and moisture while keeping pests at bay, line the back and any plant pockets you create with landscape fabric.How to: Cut the fabric into large enough pieces to cover the entire back of the pallets along with individual pockets where your plants will grow.
Tip: Make sure to staple or securely attach the fabric to the pallets to prevent soil from leaking out.
Step 5:
Install Your FrameworkAttach the vertical garden to the wall or fence where it will be mounted using brackets or screws. For enhanced structural integrity, make sure you’re drilling into a sturdy support such as a wall stud or fence post.
How: Use a measuring tape to mark where your brackets or screws will go, ensuring they are level.
Tip: If you plan to grow heavy plants, consider mounting the vertical garden on a supporting frame for extra stability.
Step 6:
Fill with Potting SoilNow it’s time to add a nourishing layer of potting soil to your vertical garden pockets. This layer provides necessary nutrients for your plants.How to: Use a scoop to fill each pocket with potting soil, leaving enough room at the top for planting.
Tip: Mix in some compost for added nutrients and drainage, which will help your plants establish earlier.
Step 7:
Choose and Plant Your FloraSelect your plants based on the amount of sunlight and weather conditions in your area. Some fantastic options include herbs like basil and thyme, flowering plants, or even leafy greens.
How: Dig holes in the soil and gently place each plantroot ball in before covering it with soil.
Tip: Pay attention to plant spacing—consider their mature size to avoid overcrowding.
Step 8:
Watering and MaintenanceAfter planting, it’s crucial to establish a watering routine. To retain moisture, especially in vertical gardens, it may be beneficial to use a drip irrigation system, though hand watering with a can works just as well.
How: Water generously after planting, about 2-3 times a week, depending on the climate.
Tip: Monitor soil moisture; a good test is to put a finger into the soil—if it’s dry up to your first knuckle, it’s time to water.
Step 9:
Add Extra Elements (Optional)Consider adding bamboo or wooden stakes for climbing plants, decorative elements, or even small lights for ambience.
How: Secure stakes in front of or behind climbing plants for support.
Tip: Create aesthetic appeal by arranging plants based on color, shape, and size.
Step 10:
Regular UpkeepMaintain your vertical garden wall by regularly checking your plants for pests, soil moisture levels, and overall plant health.
How: Remove any dead leaves, deadhead flowers, and watch for signs of disease or infestation.
Tip: Adjust watering or add organic fertilizer every month to keep your plants thriving.
2026 •