Introduction
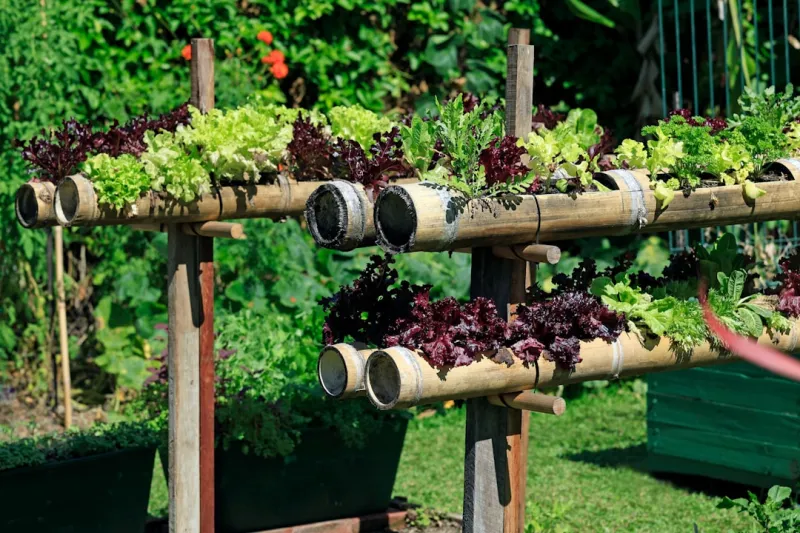
Garden Using Repurposed Pallets And Drip Irrigation System
5 (103)
, especially using repurposed pallets, is an excellent solution for maximizing your gardening space. This is not only environmentally friendly—reducing waste and utilizing what might otherwise be discarded—but it’s also financially attractive, as you can source
materials
for little to no cost.One of the significant advantages of a vertical garden is that it creates a beautiful focal point and allows you to grow a variety of plants in a compact space, making it ideal for small yards, balconies, and even indoor spaces. Vertical gardens also mote better air circulation, reduce pests, and typically have easier access for watering and harvesting.The skill level for this is Beginner-friendly. With a little enthusiasm, some basic tools, and a few afternoons dedicated to the setup, you'll be able to create a stunning vertical garden that thrives. This guide will take you through each step, ensuring that you feel confident and informed in your journey towards enhancing your green space.
Tools Needed
Hammer - Essential for driving nails and aligning pallet boards together securely.Screwdriver - Necessary for tightening screws and attaching parts of your irrigation system.Saw - A handsaw or jigsaw is useful if you need to modify the size of your pallets.Drill - Ideal for making holes for drainage and installing hooks for the irrigation tubing.Measuring tape - Important for ensuring that your vertical garden is constructed to the desired dimensions.Level - This tool will help you ensure your pallets are straight when mounted, which is vital for drainage.Gloves - protect your hands when handling pallets and soil, and ensure a better grip while working.Sandpaper - Used for smoothing out any rough edges on the pallets, making them safe to handle.
Materials
Wooden pallets - 2 to 3 pallets, depending on desired size and layout.Coconut coir or landscape fabric - 1 roll or 2 to 3 pieces, sized to fit your pallets, to hold the soil while allowing water to drain.Potting soil - approximately 2 to 3 bags (1.5 cubic feet each) for filling the spaces in the pallet.Various plants - 10 to 15 small plants, herbs, or seedlings (like strawberries, lettuce, or herbs for ease of maintenance).Drip irrigation kit - 1 kit that includes tubing, connectors, and fittings for setting up the watering system.Screws or nails - A box, ideally 1.5 to 2 inches in length for securing components, including the irrigation system.Paint or wood stain - Optional — 1 quart to protect and beautify your pallets.Wall anchors or brackets - 2 to 4, depending on how many pallets you'll mount, to secure your garden to the wall or structure.Landscape staples - 1 pack for securing fabric around the pallets.Watering can or hose (for initial watering) - 1 unit to saturate soil in the beginning.Steps to Create Your Vertical Garden
Step 1:
Gather the
Materials
Before starting your vertical garden, collect all necessary
materials
Search for sturdy wooden pallets that have no signs of extensive rot, pest damage, or broken planks. If you can, opt for HEatd pallets, as they’re deemed safe for gardening. While acquiring plants, consider your growing preferences and the sunlight available in your chosen location. Assemble your tools nearby; having everything at hand will streamline the process and prevent disruptions.
Tip: Check with local businesses or shops, as many may give away unused pallets for free.
Step 2:
Prepare the PalletsYour pallets need some preparation to ensure they are safe and functional. Start by using sandpaper to smooth out rough edges or splinters that may pose a safety hazard. Once your pallets are smoothed out, consider applying a coat of non-toxic paint or wood stain to protect them from the elements and enhance their aesthetic appeal. Remember to let them dry completely before ceeding.Safety
Tip: Always wear gloves when handling pallets to avoid splinters, and ensure you're working in a Wellated area if using paint or stains.
Step 3:
Construct the Vertical FrameDecide on the configuration of your vertical garden. Stack pallets vertically, affixing two or three together to form a stable structure. To secure the pallets, use screws or nails to connect them at each corner, creating a rectangular frame that holds firm. If you’re mounting it against a wall, ensure that your structure is secure with brackets or wall anchors.How-To
Tip: For added vertical height, consider using brackets in the middle for more support.
Step 4:
Add the Landscape FabricNext, cut your coconut coir or landscape fabric to line the back and sides of your pallets. This material will allow soil to stay intact while permitting water to drain through. Secure the fabric inside the pallet with landscape staples, making sure it covers all areas where soil will sit.
Tip: The fabric should overlap slightly to avoid soil leakage. Cut slits in the fabric to plant seeds later.
Step 5:
Fill with Potting SoilNow, fill the pallet pockets with potting soil. Depending on your pallet type, you might need to pack soil tightly to prevent it from spilling. Ensure the soil is level across each pocket, allowing the plants to root evenly. Leave some space at the top to accommodate the plants’ growth, ensuring they’re Welloned for sunlight.
Tip: Water the soil lightly as you go to keep it compact but ensure that it doesn’t become overly saturated.
Step 6:
Plant Your GreenerySelect your plants, being sure to balance larger plants with smaller ones based on their growth patterns. Remove each plant carefully from its pot, loosening the roots if necessary, and place them into the Soil pockets. Firmly press the soil around each root ball to stabilize the plants.Safety
Tip: Always keep a small shovel or hand trowel handy to assist with planting and avoid damaging roots.
Step 7:
Install the Drip Irrigation SystemSetting up a drip irrigation system may seem daunting, but it’s straightforward. Start by laying out the main line along the top of your vertical garden. Follow the kit instructions to cut tubing as necessary and install connectors. Position dripping emitters at intervals along the lines where your plants will be positioned. Once all are in place, make sure all connections are tight, and test the flow to ensure each plant receives water.
Tip: Use a timer or manual controls for watering every few days rather than daily to avoid Overtion and nutrient washout.
Step 8:
Secure the Garden in PlaceOnce your vertical garden is assembled, it’s critical to secure it to avoid any accidents. If you haven't done so already, use your brackets or wall anchors to secure the structure to a wall or stable surface. To achieve optimal stability, fasten it in both the top and bottom.
Tip: A level can be particularly helpful at this stage to ensure that the garden is straight and won’t tip over or sag.
Step 9:
Initial Watering and CareAfter everything is set, you can give your vertical garden an initial watering to help establish the plants and ensure all systems are go. Use a watering can or hose and soak the plants thoroughly, checking to see if water runs through the drip system as intended. Monitor closely for the first few days, adjusting watering times based on how quickly the soil dries out.
Tip: Document any observations you make concerning soil moisture and plant health, as this data will assist you in future adjustments to your watering schedule.
Step 10:
Maintenance and MonitoringThe final step in your vertical garden journey is to conduct regular monitoring and maintenance. Check the plants regularly for signs of pests or disease and ensure that the irrigation system remains functional. Keep your garden trimmed and weed-free, and be attentive to adjusting the watering schedule during different seasons.
Tip: Rotate your plants or change out crops seasonally to keep the garden ductive and vibrant.
2026 •