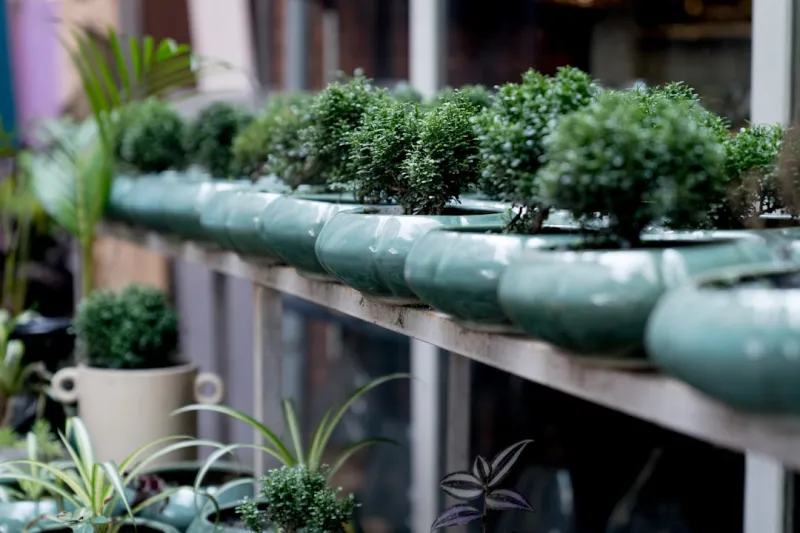
How to create a self-watering vertical garden using repurposed plastic bottles and PVC pipes
Introduction
Vertical gardening has gained significant popularity over the past few years, and for good reason. It is not just an eco-friendly way to utilize vertical space, but it also allows individuals to grow their own herbs, vegetables, and flowers in limited areas like balconies, small yards, or even indoor spaces. Creating a self-watering vertical garden using repurposed plastic bottles and PVC pipes is not just an attractive DIY project; it’s a step toward a sustainable lifestyle and reducing waste.
This project is especially beneficial for beginners who want to dip their toes into gardening without the commitment of a traditional horizontal garden bed. Engaging with nature has numerous mental and physical health benefits, including reducing stress, improving mood, and providing fresh produce. Moreover, using recycled materials minimizes your carbon footprint and encourages the practice of upcycling, nurturing creativity and resourcefulness.
Whether you have a green thumb or are just starting out, constructing this vertical garden will provide you with a rewarding sense of accomplishment as you watch your plants thrive in their new home. The skills required for this project are beginner-friendly, allowing anyone to create their own indoor or outdoor lush paradise—no extensive gardening experience needed!
Now, let’s dive into the materials, tools, and step-by-step instructions to get your vertical garden up and running.
Tools Needed
1. Drill – To create holes in both the PVC pipes and plastic bottles. It’s essential for ventilation and drainage.
2. Hacksaw or Pipe Cutter – To cut the PVC pipes to the desired lengths. A clean cut ensures the pipes fit together nicely without leaks.
3. Measuring Tape – To measure the length of your PVC pipes and the spacing between your plastic bottles accurately.
4. Marker/Pen – For marking where to cut the pipes and where to drill holes. This ensures precision in your work.
5. Scissors – Handy for cutting the plastic bottles and adjusting them as needed. Scissors provide flexibility for smaller adjustments.
6. Level Tool – To ensure your vertical garden is straight. A balanced garden will protect its structure against gravity and wind.
7. Safety Goggles – For eye protection during drilling and cutting. Safety should always come first!
8. Gloves – To protect your hands while working with raw materials. They add an extra safety measure against sharp edges.
Materials
1. PVC Pipes - 2-3 pipes of 4-inch diameter, cut to various lengths (2-5 feet) as per your preference.
2. Plastic Bottles - 10-15 standard 1-liter or 2-liter bottles. Choose bottles that have a minimal label for a cleaner look.
3. Capillary Matting - One piece, sizes depend on the length of your pipes (15-20 square feet). This will assist in distributing water evenly.
4. Gardening Soil - Approximately 3-4 bags (about 16qt each). This will fill your bottles and provide a nutrient-rich environment for your plants.
5. Plants/Seeds - Depending on what you want to grow, (5-10 plants or seed packets). Choose herbs, small tomatoes, or leafy greens for ease of growth.
6. Watering Can - 1-2 as needed. This will be used to initially fill your self-watering garden and check the water levels.
7. Screws or Fasteners - A small pack (about 20). These will help secure the structure as you build it.
8. Brackets or Hanging Hooks - 4-6, depending on your design. They’ll help you mount your vertical garden securely.
9. Mesh or Screen Material - One square foot (or recycled window screen) to prevent soil from escaping the bottles while allowing water to pass.
10. Paint (Optional) - Non-toxic spray paint for aesthetics and to enhance the longevity of your structure if desired.
Step-by-Step Instructions
Step 1: Plan Your Design
Before diving into the construction, take time to plan your vertical garden layout. Think about where you want to place it — on a wall, railing, or freestanding. Also, consider the types of plants that you want to grow and their light requirements. Make a rough sketch of how you want the whole structure to look.
Tip: Use graph paper to plot out your design, which can help visualize the spacing better. Ensure the design allows enough space for plant growth without overcrowding.
Step 2: Prepare Your Bottles
Next, you'll need to repurpose the plastic bottles:
- Remove all labels and rinse each bottle to ensure they are clean.
- Cut the bottom third off each bottle using scissors or a hacksaw carefully. This will allow for planting. The top part will act as a reservoir when it's capped.
Step 3: Modify the PVC Pipes
Once your bottles are ready, shift your focus to the PVC pipes. Using the hacksaw or pipe cutter:
- Cut the pipes to create several vertical rows, which will serve as the main structure of your garden. Keep varying lengths for aesthetic purposes.
Step 4: Create Drainage Holes in PVC
With your pipes cut, it's time to drill drainage holes.
- Use a drill to create several small holes along the sides of the pipes, every 10 to 12 inches. This is essential for drainage and to supply your plants with air.
Step 5: Assemble the Structure
Now, it’s time to assemble the structure.
- Secure the pipes vertically (you can use screws or brackets) against a wall or support frame. Ensure your pipes are level for even watering and that they are secure enough to hold the weight of the soil and plants.
Step 6: Insert Plastic Bottles
Once your structure is secure, it's time to insert the plastic bottles.
- Place the bottles upside down into the drainage holes you created in the PVC pipes. Make sure they fit snugly to prevent soil from falling out.
Step 7: Add Soil and Plants
With the bottles securely in place, proceed to add soil:
- Fill each bottle with gardening soil, leaving about an inch of space at the top.
- Plant your chosen plants or sprinkle seeds according to the recommended planting guidelines.
Step 8: Install the Watering System
Your self-watering system will rely on the bottom reservoir and capillary action.
- Fill the bottom pipe with water using a watering can. The water will slowly seep upwards through the bottles as the soil begins to absorb it.
- Optionally, you can fill the top pipe with the remaining capillary matting to improve water distribution.
Step 9: Final Touches and Maintenance
Add any final touches to your garden.
- If desired, paint the PVC pipes for a pop of color, or simply leave them as is for a rustic look.
- Ensure you brand your plants (such as through small flags or tags) to avoid confusion later on.
Step 10: Enjoy Your Garden!
The final step is to sit back and enjoy your creation.
- Cultivate patience as your garden grows. Depending on your plants, you may begin to see sprouts within days or weeks.
- Continue to observe and adapt your care routine based on how your plants respond.
Troubleshooting
While embarking on your vertical garden journey, you may encounter a few common issues:
1. Waterlogging:
- Issue: If soil is too wet or compacted, it can suffocate roots.
- Fix: Increase drainage holes or decrease watering frequency.
- Issue: Plants may become leggy or fail to thrive.
- Fix: Move your garden to a sunnier spot or consider using grow lights for indoor setups.
- Issue: Insects might find their way to your plants, causing damage.
- Fix: Regularly check plants. Use insecticidal soap or neem oil as a natural pesticide.
- Issue: Plants may wilt if they are overwatered or under-watered.
- Fix: Test the soil with your finger — if it’s moist a couple of inches down, wait longer between waterings.
- Issue: The garden may wobble or feel unstable.
- Fix: Secure the PVC pipes further or add additional bracing.
Conclusion
Creating a self-watering vertical garden using repurposed plastic bottles and PVC pipes is not just a fulfilling DIY project; it's a rewarding journey into sustainability and creativity. By turning waste into a functional and beautiful garden, you contribute positively to the environment while enjoying the myriad benefits of home gardening.
Remember, every garden is an evolving ecosystem, and maintenance is key to its success. You may choose to experiment with different plants or aesthetics, such as integrating colorful paint or even additional layers of gifted bottles for added depth. The possibilities are endless—variations depend only on your creativity and resources!
As you continue this gratifying hobby, you may find that gardening enhances your space, your health, and your connection to the natural world. Happy gardening!