How to create a self-watering indoor herb garden with recycled plastic bottles
Creating a self-watering indoor herb garden using recycled plastic bottles is not just an innovative way to repurpose waste; it is also a rewarding project that brings fresh flavors to your kitchen. Growing your own herbs enhances your cooking and provides a fulfilling hobby that can relieve stress and decorate your home with greenery. Additionally, self-watering systems reduce the frequency of watering and ensure your plants receive consistent moisture so you can focus on nurturing your young plants rather than worrying about their hydration.
This DIY project is perfect for beginners and requires minimal investment in tools and materials. Using recycled plastic bottles reinforces sustainability practices while reducing your carbon footprint. Furthermore, the skills you will gain from this project – such as basic gardening practices, understanding plant needs, and developing a routine for checking on your plants – will serve you well in future green endeavors.
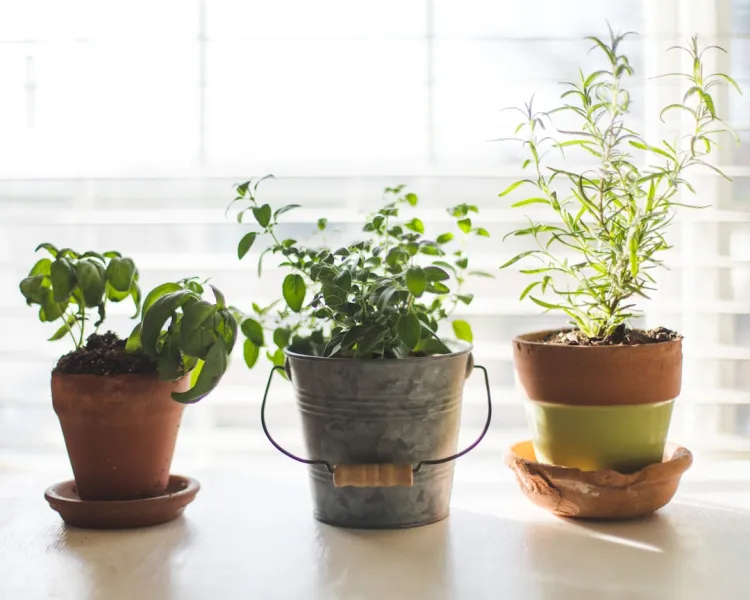
By the end of this guide, you will have a thriving mini herb garden inside your home. Suggeted herbs like basil, mint, and parsley will not only beautify your space but also fill your dishes with enticing aromas. This project allows you to experience the joy of gardening, even in limited space, while also impacting the environment positively.
Skill Level:
Beginner. This project requires only basic gardening knowledge and a little creativity. You don't have to be a master gardener to successfully cultivate your herbs using this simple self-watering system.
Tools Needed
1. Utility Knife/Cutter:
- Used for cutting the plastic bottles to create the top and bottom parts. It allows you to achieve clean cuts for a better fit.
- Useful for trimming any excess plastic or for smaller and more delicate cuts, particularly around the neck of the bottle.
- To make holes in the bottle caps and provide drainage for the soil in the upper section, ensuring that water can move between sections effectively.
- A necessary tool to gauge the amount of water you’ll use and to ensure a balanced water supply, preventing overfilling.
- Helps you fill the botttles with soil and plant the herbs easily. It’s especially useful in tighter spaces inside the bottle.
- To measure the different heights for cutting your bottles and to maintain consistency across multiple planters.
- For watering your herbs initially until the self-watering system engages. Also, useful for mixing in any fertilizers or nutrients.
- To label your herbs, which is particularly useful for beginners to track what is planted in each bottle.
Materials
1. Plastic Bottles (2-liter or 1-gallon) — 3-4 bottles- Recycled bottles make up the primary structure of your self-watering system.
- A well-draining potting mix provides nutrients and supports healthy root growth.
- Choose varieties suited to your taste and climate, such as basil, cilantro, or thyme.
- Acts as a wick to transfer water from the reservoir to the soil.
- Helps retain moisture and aerate the soil for healthier growth.
- Provides essential minerals and nutrients for your herbs, especially if you opt for hydroponics.
- Personalizes your planters or reinforces any parts that may need fortification.
- Catches any overflow of water and keeps your windowsill or countertop clean.
- Liners can help prevent water leaks if not cut precisely.
Step-by-Step Guide
Step 1: Gather Your Supplies and Tools
Before you begin the actual construction of your herb garden, ensure all your tools and materials are handy. Gather your plastic bottles, soil, herbs, and any additional materials you may want to use. Organizing everything will make the process more efficient and help minimize any frustration when you begin. Consider working in a well-ventilated area or outside, as the utility knife may produce plastic shavings.
Tip: If you're new to gardening, choose herbs that thrive indoors, such as basil, oregano, or chives. These herbs are typically easy to care for and can flourish even in limited light.
Step 2: Prepare the Plastic Bottles
Using a utility knife or a pair of scissors, carefully cut the plastic bottles in half. The top half will hold the soil and plants, while the bottom half will act as a water reservoir. Ensure the cut is even and straight for the best structural integrity when assembled.
Safety Tip: Wear gloves and protect yourself from sharp edges created during this process. If you’re unsure, have someone help you with the cutting.
Step 3: Create Drainage Holes in the Caps
Next, take the bottle caps and use a drill or a heated nail to pierce small holes into them. This will allow excess water to escape and prevents root rot. You might want to create a few small holes, about 3-5, spaced evenly around the center of the cap.
Tip: If you prefer minimal mess, do this outdoors or over a sink.
Step 4: Assemble the Self-Watering Mechanism
Now, take the upper part of the cut bottle and place it upside down into the lower half. The neck of the bottle should fit snugly into the opening of the cap below. This forms a funnel of sorts that will transfer moisture from the reservoir to the soil.
Tip: Ensure that the top part is secure. If loose, use a self-adhesive material or tape to strengthen the connection.
Step 5: Insert the Wick
To set up the self-watering system, you'll need a wick. Cut a strip of cotton string or old fabric about 10-12 inches long. Insert one end into the water reservoir so that it hangs down, while the other end should go up into the soil in the upper half. This wick will draw water up as needed, providing consistent moisture to your herbs.
Tip: Test the wick's effectiveness by filling the bottom half of the bottle with water and observing how well it travels up.
Step 6: Fill with Potting Soil
Now, fill the top section with potting soil until it is about 1-2 inches from the top. You might want to mix in peat moss for moisture retention if desired. Spread the soil evenly and ensure that your wick is adequately positioned above the soil.
Tip: Lightly compact the soil as you fill to remove air pockets which can cause problems for root development later.
Step 7: Plant Your Herbs
Once the bottle is filled with soil, it’s time to plant your herbs. If you are starting from seeds, plant them according to the packet's recommendations regarding depth and spacing. If you are using seedlings, create small holes in the soil and gently insert the roots. Cover them lightly with soil afterward.
Tip: Water the plants lightly after planting to provide moisture but avoid saturating them, as the self-watering system will take over.
Step 8: Position and Care
Place your self-watering herb garden in a spot where it can receive adequate sunlight, ideally 6-8 hours per day. You may use a windowsill, countertop, or shelf. Monitor the water level in the reservoir periodically, refilling it when necessary.
Tip: If using multiple bottles, stagger their placement to maximize your herbs' exposure to light without overcrowding.
Step 9: Monitor and Maintain
Take time to observe the growth of your plants weekly. Ensure that the soil remains moist but not waterlogged. You may need to adjust the wick and soil moisture levels according to the needs of your herbs. Be on the lookout for any signs of pests or diseases, and address them promptly.
Tip: Regularly check if the drainage holes are clear so that water movement remains unobstructed.
Step 10: Harvest and Enjoy
Once your herbs have grown sufficiently, you can start harvesting. Always cut just above the leaves to encourage regrowth. Enjoy the fresh herbs in your cooking, making sure to take care of your plants for ongoing yields.
Tip: Regular harvesting encourages new growth, so don’t hesitate to use your herbs liberally in your culinary creations.
Troubleshooting
1. Overwatering (Waterlogged Soil):
- Fix: Check the drainage holes; if plugged, clear them. Adjust the wick or potting mix for better moisture control.
- Fix: Assess light conditions and ensure that your plants are not receiving too much or too little sunlight.
- Fix: Decrease humidity by ensuring good airflow around your plants. Consider reducing watering frequency or relocating to a less humid spot.
- Fix: Ensure the wick is adequately inserted into both the soil and water reserve. Replace the wick with a thicker, more absorbent material if necessary.
- Fix: Use an organic insecticidal soap or neem oil to treat your herbs. Keep an eye on your herbs and remove any dead leaves promptly.
Conclusion
Creating a self-watering indoor herb garden with recycled plastic bottles is a fun and relaxing project that encourages sustainable practices while enhancing your culinary experience. With a small investment in materials and a few hours of your time, you can create a beautiful and functional herb garden that breathes life into your living space.Additionally, feel free to play with variations: try different herbs, add artwork or paint your bottles to make them more decorative, or even incorporate small fairy lights around them for an enchanting touch. Regular watering and care will ensure your herbs thrive long into the future. Enjoy the journey of gardening and the savory rewards it brings!