How to "DIY homemade concrete garden planters for beginners"
DIY Homemade Concrete Garden Planters for Beginners (Step-by-Step)
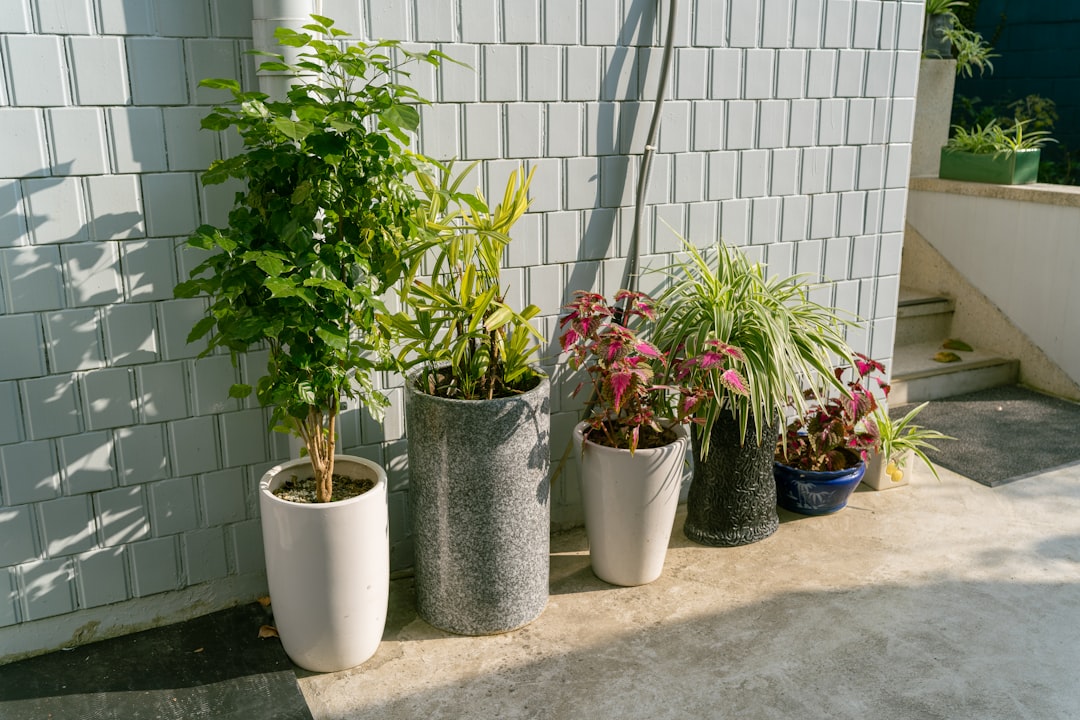
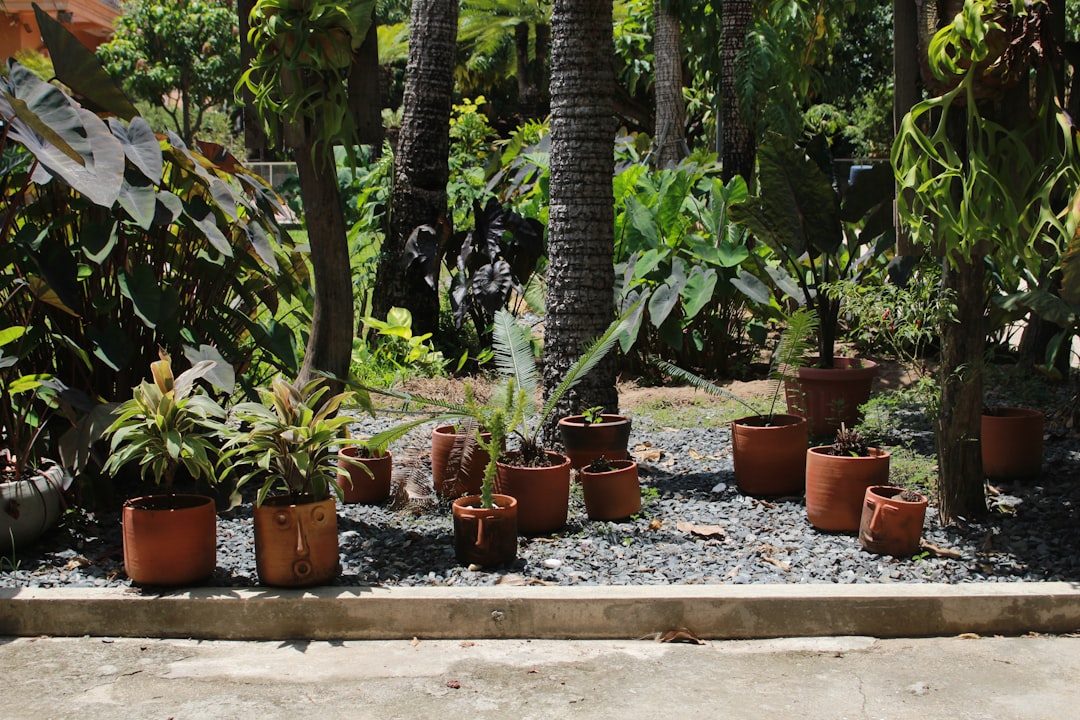
Are you looking to add some style to your garden without breaking the bank? This DIY project, making homemade concrete garden planters, is perfect for beginners! Concrete planters are durable, versatile, and can be styled in countless ways. Plus, they give your plants a sturdy and attractive home. Let's roll up our sleeves and get creative!
What You'll Need
Before we jump into the steps, let’s gather all the tools and materials you’ll need:
Materials:
- Quick-setting concrete mix (available at any hardware store)
- Water
- Plastic containers (one smaller for the inner mold, and one larger for the outer mold)
- Cooking oil or non-stick spray (for easy removal)
- Spray paint or concrete stains (optional for decoration)
- Sealant (to protect your planter, optional)
- Gloves (to keep your hands clean)
- Mixing container
- Mixing stick or trowel
- Sponge or cloth for cleanup
- Measuring cup
- Protective eyewear
- Mask (to avoid inhaling dust)
- Create different sizes and shapes to add variety.
- Stack smaller planters or group them together for a unique display.
- Personalize each planter with names or designs using stencils and paint.
Tools:
Step 1: Plan Your Design
Before you start, take a moment to think about the shape and size of your planter. Would you prefer a classic rectangular shape or a round one? Don’t hesitate to let your creativity soar! Draw your design or find inspiration online. Remember, the inner mold will dictate the planter's size, so make sure to select a suitable container.
Step 2: Prepare Your Workspace
Concrete can be messy, so choose an outdoor space or a well-ventilated area to work. Lay down a drop cloth or a plastic sheet to protect surfaces. It's a good idea to wear protective eyewear and a mask as well. Let's keep it safe and clean!
Step 3: Prep Your Molds
Before pouring in the concrete, we need to prepare our molds. Here’s how to do it:
1. Choose your inner mold (the smaller container) and the outer mold (the larger one). 2. Coat the inside of the outer mold and the outside of the inner mold with cooking oil or non-stick spray. This will assist in releasing the concrete once it sets. You don’t want your planter to come out crumbling, right?
Step 4: Mix Your Concrete
Time to get our hands dirty!
1. In a mixing container, pour the quick-setting concrete mix. 2. Gradually add water while stirring with your mixing stick or trowel. The amount of water will depend on the instructions on the concrete bag. You’re aiming for a thick, moldable consistency, similar to cake batter. 3. Mix thoroughly until there are no dry clumps.
Tip:
Don’t forget to wear gloves during this step. Concrete can be harsh on your skin!Step 5: Pour the Concrete
You're almost there! Now it’s time to assemble your planter:
1. Start by pouring a layer of concrete into the bottom of the outer mold. It should be about 1 to 2 inches deep, depending on the desired thickness of your planter walls. 2. Take the inner mold and press it into the center of the outer mold. Make sure it’s positioned evenly. Adjust the concrete at the base if needed. 3. Pour more concrete around the inner mold until you reach the top. Use the trowel to smooth out the surface.
Important Note:
Make sure there are no air bubbles trapped between the molds. You can gently tap the sides of the outer mold to release any bubbles that may have formed.Step 6: Let It Set
Now comes the hardest part: patience! Let the concrete set according to the package instructions, usually about 24 to 48 hours.
Tip:
Check the manufacturer’s instructions to see if the concrete needs to be misted with water to cure properly. Keeping it moist can prevent cracking.Step 7: Remove the Molds
After the concrete has set completely, it’s time to unveil your masterpiece!
1. Carefully remove the inner mold first. If you’ve properly oiled it, it should slide out with ease. 2. Gently flex the outer mold to release the new planter. If it doesn’t come off easily, you can use a butter knife to carefully pry it away from the edges.
Step 8: Finishing Touches
Your concrete planter is complete, but we still have some finishing touches to add:
1. Sand the Edges: If the edges are rough, use sandpaper to smooth them out. 2. Paint or Stain: If you want to add some color, using spray paint or concrete stains can give your planter a nice finish. Go wild with your creativity! 3. Seal It: To protect your planter from outdoor elements, consider applying a sealant. This will help prevent water damage and keep it looking pristine for longer.
Step 9: Planting
Now it’s time to fill your concrete planter with soil and your favorite plants!
1. Add a layer of small rocks or pebbles at the bottom to help with drainage. 2. Fill the planter with soil, leaving enough space for your plants. 3. Gently position your plants in the soil, filling in around the bases with more soil as needed.
Tip:
Choose plants that are suitable for your climate and match the aesthetics you’re looking for!Step 10: Enjoy Your Creation
Step back and admire your work. You've just made your very own concrete garden planter! Place it in your preferred spot in the garden or on the patio. Take satisfaction in knowing you built it yourself—this is a project you can be proud of!
Bonus Ideas:
Conclusion
There you have it! A straightforward guide to creating homemade concrete garden planters. With just a few materials and steps, you can add personality and charm to your garden space. Don’t hesitate to share this project with friends or try making a larger one for your more significant plants. Happy planting!
By Alex, Home Hack Lab