Introduction
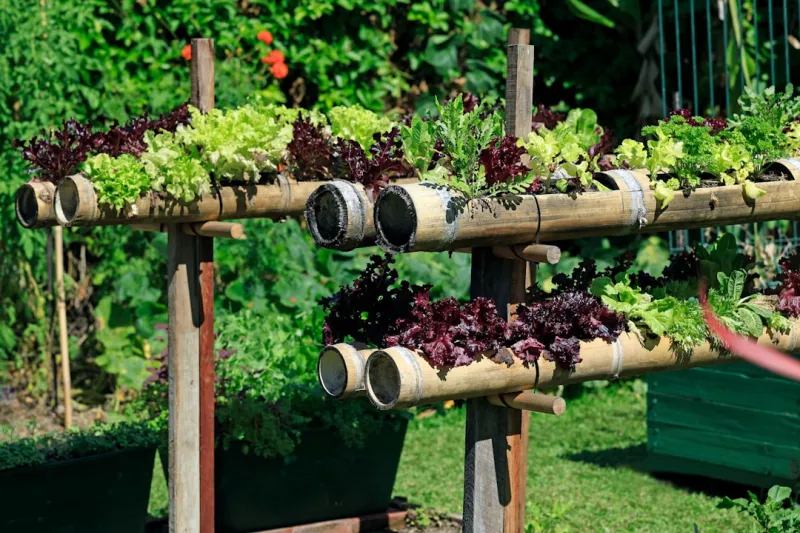
Garden Using Upcycled Wine Bottles And Excess Pallet Wood
5 (107)
can seem daunting for those who have never attempted a like this before. However, this guide will break down each step, ensuring that even beginners can create a stunning vertical garden, regardless of their previous experiences. Let’s get started!Step-by-Step InstructionsGather Your
Materials
and ToolsBefore diving into the , it’s important to collect all your
materials
and tools. This will save you time and help you stay organized. Once you have everything laid out, take a moment to inspect the wine bottles, making sure they’re clean and free of residual labels. Clean your pallet wood too, look for damages or weak points that might need reinforcing.Disassemble the PalletUsing your pry bar or hammer, gently disassemble the pallet wood. Take your time to avoid damaging the wood, as you will want to keep larger, sturdy pieces for your vertical garden. Once disassembled, sort through the wood and select the best planks for your , aiming for a mixture of longer pieces for the vertical framework and shorter ones for the supports.Design Your Vertical GardenThink about how you want your vertical garden to look. Determine the size and shape based on your available wall space and the number of wine bottles you have. Sketch a basic design, considering how you’ll arrange the wine bottles and how many rows you want. A staggered arrangement can create an appealing look and ensure each bottle gets adequate sunlight.Cut the Pallet WoodUtilizing your measuring tape, mark where you will need to cut the wood based on your design. A recicating saw or circular saw will make this task easier. Safety is paramount—wear your safety goggles and gloves as you cut. Cut the pieces for your vertical garden frame, including vertical supports and horizontal crossbeams for bottle placement.Assemble the FrameStart by laying out the larger pieces of wood to form a rectangle or square frame. Use your level to ensure everything is straight. Secure each intersection with wood screws, checking that everything is flush. You might need the metal brackets at the corners for better stability.Prepare the BottlesOnce your frame is ready, prepare the wine bottles by cutting the bottoms off (or leaving them whole, depending on desired aesthetics). If cutting, use a glass cutter or a Stringg method. Ensure you wear strong gloves and safety goggles, as the edges can be sharp. If not cutting, simply clean the bottles and remove labels.Attach the BottlesSecure the wine bottles to the frame using hose clamps or wire at your desired spacing. You can place a piece of plastic sheeting inside the bottle with soil to hold moisture or leave it bare for drainage. Affix them firmly enough to support their weight but be careful not to overly tighten and crack the glass.Fill With Soil and PlantNow it’s time for planting! Fill each bottle with potting soil, leaving a bit of space at the top to prevent overflow when watering. Plant your choice of herbs, flowers, or small vegetables in the bottles, ensuring to follow the specific spacing and planting needs for each type. Water them lightly after planting.Mount the Vertical GardenWith your frame fully set and planted, it’s time to mount it on a wall. This could be an interior wall or an outdoor location, depending on your plants' sunlight needs. Use anchors for heavier setups and ensure the frame is level on the wall before securing it in place with screws.Maintenance and WateringAfter your garden is installed, the care begins. Water your plants regularly—keep the soil moist but not too wet. You can use a sprayer for better coverage among the bottles. Consider using liquid organic fertilizer every couple of weeks, depending on the plants. Monitor for pests and ensure each plant gets adequate sunlight.
2026 •