Introduction
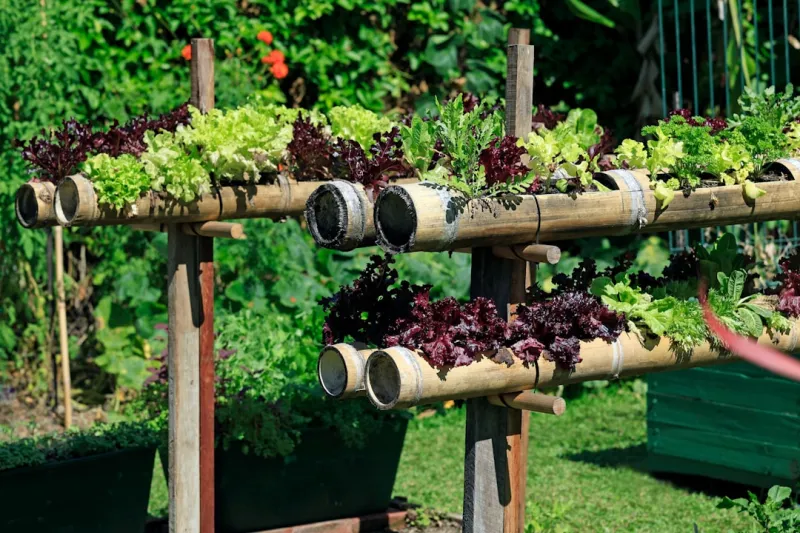
Garden Using Repurposed Wine Bottles And Gardening Fabric
has taken the world of home gardening by storm, providing a stunning way to greenscape small spaces without taking up precious ground area. If you find joy in nurturing plants but are limited by space, especially in urban settings, creating a vertical garden can offer both a solution and a rewarding hobby. This will walk you through creating your own vertical garden using repurposed wine bottles and gardening fabric. Not only is this a practical way to grow herbs, flowers, or succulents, but it’s also an eco-friendly that gives new life to old
materials
The benefits of vertical gardening are manifold. Such structures maximize sunlight exposure, reduce soil erosion, and can even act as natural insulators if positioned correctly. Furthermore, repurposing items like wine bottles not only saves money but also minimizes waste, contributing to a more sustainable lifestyle. Whether you're a beginner or a seasoned gardener, this can be both fun and fulfilling, allowing you to express your unique style while beautifying your outdoor or indoor space.The skill level for this is Beginner-friendly. While some aspects of the process require attention to detail, the overall task is manageable, and the satisfaction derived from your vertical garden will surely motivate you to continue gardening. Plus, you’ll gain valuable skills that will boost your confidence to tackle more ambitious in the future. So, gather your
materials
and let's get started on your journey to creating a vertical garden that beautifies your space and showcases your style!
Tools
- Needed
- Drill with a Masonry Bit: To create drainage and installation holes in the wine bottles, a drill equipped with a masonry bit will make the job easier and more efficient.Screwdriver: This is essential for attaching the wooden or metal frame to your vertical structure and securing any components.Scissors: A good pair of scissors will come in handy for cutting the gardening fabric to fit your wine bottle holder structure.Measuring
- Tape: Accurate measurements are crucial. A tape measure will help you ensure all elements are evenly spaced and aligned.Level: This tool ensures your vertical garden is mounted evenly, preventing waterlogging in certain areas and ensuring that the structure looks aesthetically pleasing.Gloves: Gardening gloves will protect your hands from sharp edges and splinters from the bottles and frame.Safety
- Glasses: Wear these when using power tools to safeguard your eyes from dust and flying debris.Trowel: A small hand trowel will help you place soil and plants into the wine bottles with ease.
Materials
- Wine Bottles: approximately 10-15 bottles, cleaned and labels removed.Gardening
- Fabric: About 2 yards, preferably a breathable fabric that can retain soil without leaking too much water.
- Wood (or Metal) Frame: Dimensions will depend on the number of bottles; an estimated size of 4 feet tall by 3 feet wide is a good start.
- Potting Soil: approximately 2-3 bags (depending on bottle sizes) to fill each bottle adequately. Plants/Seeds: Choose around 10-15 plants, such as herbs, lettuces, or small flowers
- Twine or Wire: About 10-15 feet, useful for securing the gardening fabric to the frame
- Paint (optional): If you want a decorative touch, consider using a WEatherant paint for the frame.
- Sealant: A waterof sealant for any wooden components to ensure longevity outdoors.
- Drill and Anchors: Check the wall where you’re mounting the frame to ensure it’s secure.Steps to Create Your Vertical Garden
Step 1:
Gather Your Tools and
Materials
Before diving into your , gather all necessary tools and
materials
in one workspace. This may include your wine bottles, gardening fabric, potting soil, the wooden or metal frame, plants, and other tools. Organizing your workspace can save you time and effort later.Can’t find a wine bottle opener? Use a corkscrew or follow a DIY method to extract any remaining cork, ensuring the bottles are completely clean. Removing the labels from your bottles may take a bit of time. Soak them in warm soapy water, allowing the adhesive to loosen. This step will not only improve aesthetics but also prepare the bottles for planting.
Step 2:
Prepare the Wine BottlesOnce you’ve collected your bottles, the next step is to prepare them for planting. Use the drill to make a drainage hole near the bottom of each bottle. This step is crucial to prevent excess water from gathering and suffocating the roots of your plants.
Tip: ceed slowly while drilling, as glass can shatter under too much stress. Use water while drilling to keep the glass cool and reduce dust.After drilling, rinse each bottle thoroughly to eliminate any glass dust. Check for sharp edges and use sandpaper or a file to smooth them out. For added flair, you might consider painting the outside of each bottle with a WEatherant paint.
Step 3:
Create the FrameYour next task is to create a sturdy frame for your vertical garden. You can choose to construct it from wood or metal, depending on your aesthetic preferences and available
materials
Start by cutting your wood or metal to the desired dimensions. If you opt for wood, it’s beneficial to sand down any rough edges and apply a waterof sealant to protect against rot. After assembling the frame, use a level to ensure it stands evenly.Safety
Tip: Always wear safety glasses and gloves while cutting and assembling your
materials
to protect against accidents.
Step 4:
Attach the Gardening FabricCut your gardening fabric to fit the dimensions of your frame. The fabric will serve as a growing medium for your plants, keeping soil in while allowing roots to breathe. Sew the fabric into pockets through which you’ll insert the wine bottles.To attach the fabric securely, use twine or wire to create a grid over the frame, ensuring the fabric is tightly fastened without sagging. This part is crucial so that it can hold the weight of the soil and plants once everything is installed.
Tip: Ensure there are enough pockets for all your wine bottles; you may prefer a staggered layout for a visually dynamic garden.
Step 5:
Fill the Bottles with SoilWith your structure ready, the next step is to fill the prepared wine bottles with potting soil. Start by pouring a layer of potting soil into each bottle, making sure to leave some space at the top for plants.
Tip: When filling, tap the sides gently to settle the soil and eliminate air pockets. You can also use the trowel to help in this process.Once the bottles are filled, you’re ready to plant!
Step 6:
Plant Your Chosen FloraNow comes the fun part—planting your chosen herbs, flowers, or plants! For best results, select plants that thrive in similar light conditions and water needs. Small herbs like basil, thyme, or flowers such as petunias work well in bottle gardens.Carefully insert each plant into the soil, pressing it down gently to ensure it has good contact with the soil. For seeds, follow the package instructions for spacing and depth, as each type of seed has specific planting instructions.
Tip: Be sure not to overcrowd the bottles. Adequate airflow helps avoid fungal diseases.
Step 7:
Position the Vertical GardenOnce everything is planted, carefully position your vertical garden in the desired location. Ensure it gets enough sunlight for the plants you’ve chosen—most will thrive with at least 4-6 hours daily. Mount the frame securely against a wall or a sturdy area. Use brackets or anchors to fix the structure securely.
Tip: If possible, observe the location for a few days to capture sunlight patterns to determine if you've chosen the right spot.
Step 8:
Water and Maintain Your GardenYour vertical garden will require regular care. Water the bottles as necessary, ensuring not to overwater. Checking the moisture level is crucial, as the bottles might dry out more quickly than traditional garden beds. You may need to water more frequently during hot months.As the plants grow, monitor them for pests or diseases. Regularly pinch or snip back any dead leaves to encourage healthy growth. Fertilizing may also be necessary; use organic matter such as compost to enhance soil fertility.Safety
Tip: Always be careful while handling a watering can or hose near your vertical garden to avoid spills and maintain safety.
2026 •