Introduction
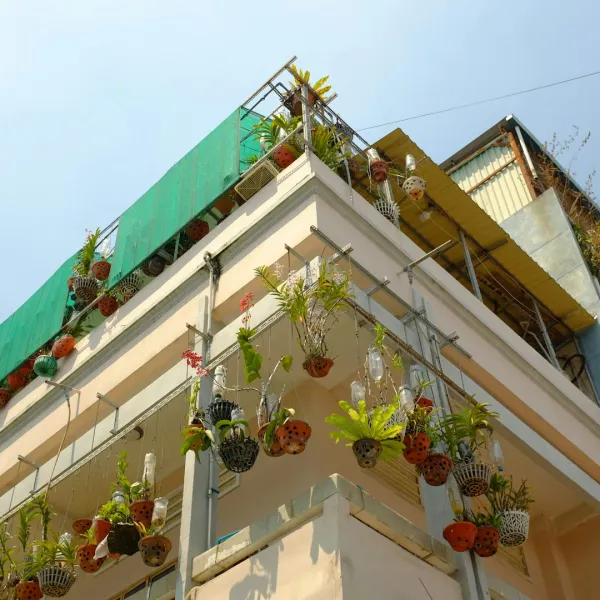
Garden Using Repurposed Plastic Bottles For A Small Apartment Balcony
, such as herbs, succulents, or trailing vines that can flourish in limited space and sunlight.
- Screws or Zip Ties: For securing bottles together and attaching them to your balcony wall. These will provide stability and ease in hanging the vertical garden.
Materials
- Plastic Bottles: 12-15 used plastic bottles, preferably of the same size for uniformity, such as 2-liter soda bottles.Nails or
- Hooks: About 10-15 nails or hooks, depending on how many bottles you are stacking and securing.
- PVC Pipe or Wooden Board: 1-2 pieces, around 1 meter in length, to serve as a frame or a support structure for the vertical garden if you prefer a framed look.
- String or Rope: approximately 2-3 meters, for additional stability if you are using a hanging method or to create a grid for bottle placement.
- Fertilizer: A small bag of Slowe fertilizer, to enrich the potting soil as your plants begin to grow.
- Watering Can or Spray Bottle: To provide moisture to your plants regularly without flooding them.
- Screen Mesh or Coffee Filters: To place at the bottom of each bottle to prevent soil from falling out while allowing water to drain.
- Decorative Paint (optional): 1-2 cans if you want to customize the appearance of the bottles before planting. Step-by-Step Guide
Step 1:
Gather Your
Materials
Before diving into the , collect all the necessary
materials
and tools. Ensure your plastic bottles are clean and free from any residue. Removing labels is advisable to create a cleaner look. Make sure you have space to work, preferably in a well-lit area to enhance visibility. This preliminary organization makes for a smoother process and enables you to focus on the artistic elements of your vertical garden.
Tips: Rinse the bottles with water and let them dry completely.Consider different designs; you could mix bottle sizes for visual interest.
Step 2:
Cut the Bottles Using your utility knife, carefully cut each plastic bottle in half lengthwise, creating two halves. For a classic look, you might prefer to leave the top slightly larger than the bottom. This allows for a more attractive planting surface. Be steady with your hands and avoid cutting too deeply or too shallowly.
- Safety Reminder: Always cut away from your body and make sure to wear gloves to avoid any injuries.Use a stable surface to ensure precision when cutting.
Step 3:
Create Drainage Holes Drill several small holes at the bottom of each bottle half. This step is crucial as it prevents water from accumulating and ensures your plants drain properly. Depending on the size of your bottles, 2-4 holes should suffice.
Tip: If you do not have a drill, you can heat a nail and push it through the plastic to create holes. Just be careful of the steam!
Step 4:
Prepare the Support Structure If you've chosen to use a piece of PVC pipe or a wooden board, now is the time to attach it to your wall or balcony railing. Pay attention to how many bottles you plan to add and secure the structure firmly with screws or hooks, ensuring it can support the weight when filled.
Tip: Use a level to ensure the support structure is straight, preventing the garden from leaning.
Step 5:
Insert Mesh or Filters To prevent soil from escaping through the drainage holes, cut and insert pieces of screen mesh or coffee filters into the bottom of each bottle. This is a simple yet effective way to keep soil in while allowing for proper drainage.
- Bonus
Tip: If you’ve opted for a decorative paint job, consider painting the bottle sections before adding the mesh.
Step 6:
Fill with Soil and Fertilizer Begin filling each bottle with potting soil, leaving a little space at the top for planting your seeds or seedlings. Mix in some Slowe fertilizer according to package instructions to provide essential nutrients. Stop filling when you are 1-2 inches away from the top.
Tip: Use a stick or your fingers to pack the soil lightly for stability.
Step 7:
Plant
- Your Seeds or Plants Now comes the exciting part: planting! Choose plants that can thrive in vertical gardening, such as herbs (basil, mint, or parsley), small flowers (petunias, violas), or trailing vines (pothos, string of pearls). Arrange them according to their sunlight and watering needs. How-
Tip: Read the plant tags for care instructions and space plants appropriately to allow for growth.
Step 8:
Secure the Bottles Using screws, zip ties, or strong rope, secure each bottle to your support structure, placing them at desired intervals. If stacking, be sure to leave enough space for sunlight to reach each bottle. You can choose to create a staggered effect for visual impact or a uniform stack for a cleaner look.
Tip: Ensure bottles are firmly attached to avoid tipping over; check stability before advancing to plant care.
Step 9:
Watering and Maintenance After planting, water your vertical garden thoroughly using a watering can or spray bottle to ensure soil and plants are adequately hydrated. Continue checking your plants daily for how much water they need, especially on hot days.
- Advice: Consider using Selfng bottles if you're frequently away; these can be created by setting up a small reservoir system using plastic bottle caps.
Step 10:
Enjoy Your Green Space Finally, sit back and admire your creation! Your vertical garden will add not only beauty to your balcony but also provide fresh herbs and greenery to enjoy. Remember to periodically check for pest issues, dead leaves, or overcrowded plants, and trim as necessary.
2026 •