Introduction
Garden Using Reclaimed Pallets And Succulent Plants
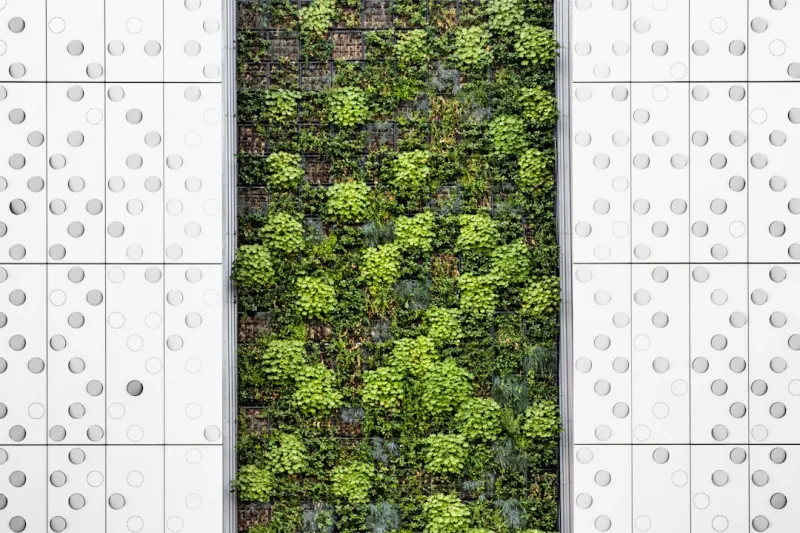
Garden Using Reclaimed Pallets And Succulent Plantsbody.navh1.rating.hero-img.share.btn Garden Using Reclaimed Pallets And Succulent PlantsCreating a vertical garden using reclaimed pallets and succulent plants is not only an innovative way to utilize limited space, but it also transforms an ordinary wall into a vibrant vertical oasis. With the increasing popularity of urban gardening, building your vertical garden allows you to showcase your creative flair while enjoying the benefits of growing your plants at home.This is relatively inexpensive and environmentally friendly, especially since it emphasizes the use of reclaimed
materials
, which reduces waste. You’ll also gain an appreciation for the beauty of succulents—remarkable plants that require minimal care and come in a plethora of colors, shapes, and sizes.For beginners, this DIY is manageable and does not require advanced gardening skills. While it involves basic woodworking and planting techniques, the level of creativity involved allows for personal expression. Furthermore, vertical gardens enhance your home aesthetic, improve air quality, and even offer fresh duce depending on your plant choices. Comprehensive planning is essential; however, each step carries the potential for flexibility and adaptation based on your preferences and needs.Steps to Create Your Vertical Garden
Step 1:
Gather Your Tools and
Materials
Before you start your , ensure that you have all tools and
materials
ready. This will minimize interruptions during the building and planting process. Place everything in a well-lit and spacious area to provide ample workspace.
Tip: Organize your tools systematically. Keep the power or hand tools separately from consumable
materials
(like soil and plants). This organization helps streamline the ’s flow and avoids losing items.
Step 2:
Prepare the Reclaimed PalletInspect your reclaimed pallet for any damage such as loose boards or splinters. Sand down sharp edges to give it a smoother finish. If the wood has any mold or deterioration, treat it with a wood preservative or sealant to enhance its longevity.If you wish to customize the size, use the saw to cut the pallet according to your desired dimensions. Consider cutting the pallet vertically for a taller garden or horizontally for a wider layout.Safety
Tip: Always wear gloves and protective eyewear when using power tools to prevent injury from splinters and sawdust.
Step 3:
Attach the Landscape FabricUsing the staple gun, cover the back and sides of the pallet with landscaping fabric. This fabric will help keep the soil in place while allowing for water drainage, preventing moisture buildup that could damage the wood.How-to: Roll out the fabric over the pallet, cut it to fit, and fold the edges over the top and sides. Staple down each corner securely, ensuring that there are no gaps.
Step 4:
Position the PalletDecide on a suitable location for your vertical garden. Look for a wall that receives adequate sunlight, as succulents thrive in bright light. With the measuring tape, make sure the pallet will fit as proper your plan.When you’re ready to hang it, ensure that there are studs or solid wall backing to secure your pallet. Use the level to check and mark where screws will go for even attachment to the wall.
Tip: If you’re hanging the pallet on a plaster wall, use wall anchors to provide extra support.
Step 5:
Prepare Your SoilMix your potting soil with small gravel or pebbles to mote drainage. Succulents prefer Wellng soil to avoid root rot. The right consistency of soil will foster healthy growth by allowing excess water to drain away instead of pooling.
Tip: Experiment with soil portions; a general rule is 3 parts potting soil to 1 part gravel.
Step 6:
Plant Your SucculentsBefore you start planting, lay out your succulent plants on the pallet to visualize the arrangement. This step allows you to experiment with color and texture without committing to a specific layout. Once satisfied, begin planting.How-to: Dig a small hole in the soil with your trowel for each succulent, ensuring there's enough space for roots.Gently remove the plant from its nursery pot and place it into the hole, then cover the roots with soil. Press lightly without compacting too much.
Tip: Succulents should be spaced enough to allow each one to grow without crowding, which motes better air circulation.
Step 7:
Watering and MaintenanceAfter planting, gently water your succulents, ensuring the soil is moist but not waterlogged. It’s crucial to maintain a consistent watering schedule—typically, succulents require watered only every few weeks, depending on your climate.Maintenance
Tip: Check soil moisture before watering. Stick a finger an inch into the soil; if it's dry, it’s time to water.
Step 8:
Final Touches and DecorationOnce your succulents are firmly planted and the pallet is secured to the wall, consider adding decorative elements. You can use small decorative stones, fairy lights, or even paint the pallet for extra visual impact.Creative
- Variations: Create space for watering by leaving small gaps between plants or making sections for different plants.
Step 9:
Keep an Eye on Plant GrowthRegularly inspect your succulents for signs of health or distress. Look for discoloration, wilting, or pests. Prune dead or overgrown leaves to prevent disease and mote growth.Helpful
Tip: Research each succulent type for their specific care needs (sunlight, water, and soil) for optimal results.
Step 10:
Enjoy Your New Vertical GardenTake time to sit back and admire your hard work. A vertical garden not only beautifies your space but also creates a sanctuary amidst the chaos of daily life. Be ud of what you've accomplished and maintain care for your plants regularly.
2026 •