Introduction
Create A Self Watering Indoor Herb Garden Using Repurposed Mason Jars
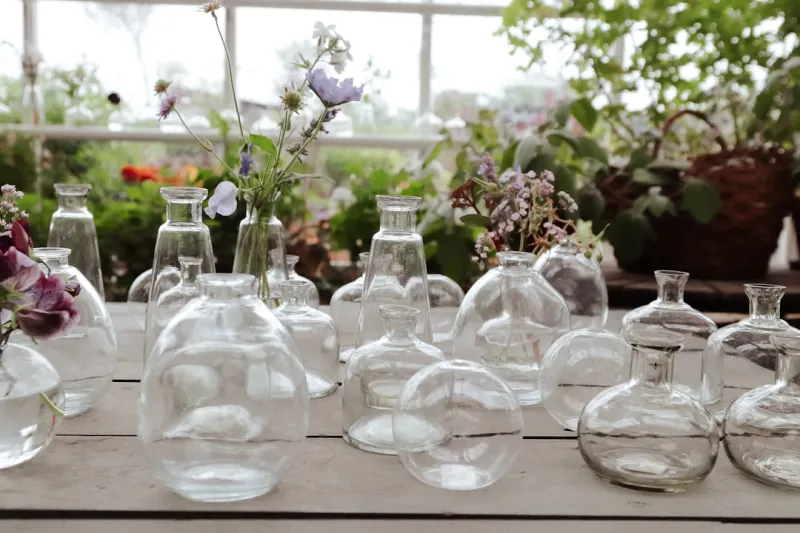
Create A Self Watering Indoor Herb Garden Using Repurposed Mason Jarsbody.navh1.rating.hero-img.share.btnCreate A Self Watering Indoor Herb Garden Using Repurposed Mason JarsWhen you think about incorporating lush greenery into your home, the challenge often boils down to time and effort needed to maintain healthy plants. For busy individuals or those new to gardening, caring for plants can feel overwhelming. This is where a Selfng indoor herb garden is advantageous. By utilizing a simple system that automatically provides plants with moisture, you can drastically reduce the frequency of watering while turning your kitchen into a herb haven. Moreover, growing your own herbs can lead to more flavorful meals as they infuse your dishes with freshness that dried herbs simply cannot replicate. Such herbs mote healthier eating habits and can also serve as natural remedies for various health concerns. For instance, basil can help reduce inflammation, and parsley is known for its rich vitamin content. The Selfng design of this mason jar garden ensures that your herbs' roots always have access to moisture without the risk of overwatering, which is a common mistake among beginner gardeners. With such benefits as sustainability, Costiveness, and convenience, this can serve as both an effort to green up your home and an engaging dip into the world of gardening for enthusiasts of all skill levels. Steps to Create Your Self-Watering Indoor Herb Garden
Step 1:
Prepare Your Mason JarsBegin by selecting the ideal mason jars for your . Choose jars that are large enough to accommodate the herbs you intend to grow. Clean the jars thoroughly in warm, soapy water and rinse them well before use. This step is essential to eliminate any residues or chemicals that might be harmful to your plants.
Tip: If you're crafting multiple jars, consider using mismatched jars for a rustic look.
Safety: Always inspect the jars for cracks or chips, as damaged glass could cause injury during the planting process.
Step 2:
Drill Holes for the WickNext, you will drill holes in the lids of the mason jars, which is a critical element in the Selfng system. Using your drill, make a hole in the center of each lid that is approximately 1/4 inch in diameter. This will allow the wick or cord to come through the lid and connect to the reservoir below.
Tip: If you lack a drill, you can use a heated nail or screwdriver to create a hole instead.
Safety: Always wear safety goggles and a dust mask while drilling to protect your eyes and lungs from debris.
Step 3:
Prepare the Wick SystemCut lengths of cotton wick or sturdy string that are approximately 12-15 inches long. For each jar, you’ll need one wick. Insert one end of the wick through the hole in the jar lid, ensuring that it reaches down into the jar while the other end can dip into the water reservoir beneath.
Tip: If needed, tie a knot in the wick to ensure it stays in place.
Safety: When handling scissors or sharp
materials
, ensure your fingers are safely away from the cutting area.
Step 4:
Add Gravel or Pebbles for DrainagePour a layer of small pebbles or gravel into the bottom of each mason jar, filling it about 1-2 inches deep. This step is crucial, as it helps create a drainage layer that prevents the roots from sitting in water, which could cause root rot.
Tip: Ensure that the gravel is clean to avoid contaminating your plants.
Safety: Wear gloves while handling gravel to avoid injury to your hands.
Step 5:
Fill the Jar with Potting SoilFollowing the drainage layer, add the potting soil into the jar, filling it to about 1-2 inches below the rim. Pat down the soil gently to eliminate air pockets without compacting it too tightly, as this can inhibit root growth.
Tip: Always choose quality, Wellng potting soil formulated for herbs to encourage healthy growth.
Safety: Avoid inhaling dust while handling potting soil; consider wearing a mask or working in a Wellated area.
Step 6:
Sow Seeds or Plant SeedlingsOnce the soil is in place, it’s time to plant your herbs. If you're using seeds, plant them according to the instructions on the seed packet, typically 1/4 inch deep. For seedlings, make a small hole in the soil, carefully place the seedling in, and gently cover its roots with soil.
Tip: Consider planting companion herbs together that grow well when paired, such as basil and tomatoes.
Safety: Handle the seeds and seedlings gently to avoid damaging their delicate structures.
Step 7:
Water the SoilAfter planting, water the soil thoroughly. Do this cautiously to avoid washing away the seeds or disturbing the seedlings. Allow excess water to drain through the wick into the gravel reservoir below. Make sure you keep an eye on the soil moisture until the herbs establish themselves.
Tip: You can use a spray bottle for more precise watering initially.
Safety: Ensure that you are not Overng, as the excess moisture could lead to fungal issues.
Step 8:
Create a Humidity Dome (Optional)To enhance germination rates for seeds, consider creating a mini greenhouse effect by covering the jars with plastic wrap. This will help retain moisture and warmth. Just make sure to poke a few small holes in the wrap for air circulation.
Tip: If utilizing this method, remove the plastic wrap once you've observed new growth.
Safety: When using plastic wraps, ensure they do not touch the plant foliage to avoid water condensation damaging the leaves.
Step 9:
Set Up Your Herb GardenChoose a bright, indirect light location for your jars, where they will receive a good amount of sunlight. South- or West windows are often ideal. Ensure the jars are placed on a tray or saucer to catch any excess water that might seep out of the bottom.
Tip: Rotate your jars every few days to ensure all sides receive light evenly, promoting uniform growth.
Safety: Take care when moving jars to avoid breaking glass and injuring yourself.
Step 10:
Maintain and MonitorYour Selfng herb garden will require regular monitoring to ensure that the wicks are functioning correctly. Check the soil moisture daily for the first week; once established, you should notice that the soil remains adequately moist due to the Selfng feature. Add water to the reservoir when it gets low, usually once a week or as needed.
Tip: Regularly prune and harvest your herbs to encourage further growth and to prevent them from becoming leggy.
Safety: Be cautious when using scissors to trim your plants; ensure you do not cut too close to the roots.
2026 •