How to create a self-watering indoor herb garden using repurposed mason jars
Creating a self-watering indoor herb garden is not only a practical endeavor but also a gratifying experience that brings a touch of nature inside your home. This project is particularly appealing for individuals with limited gardening space or those who might lack a green thumb. Indoor herb gardens make it easy to incorporate fresh herbs into your cooking, allowing you to elevate the flavor of your dishes in a sustainable and cost-effective manner.
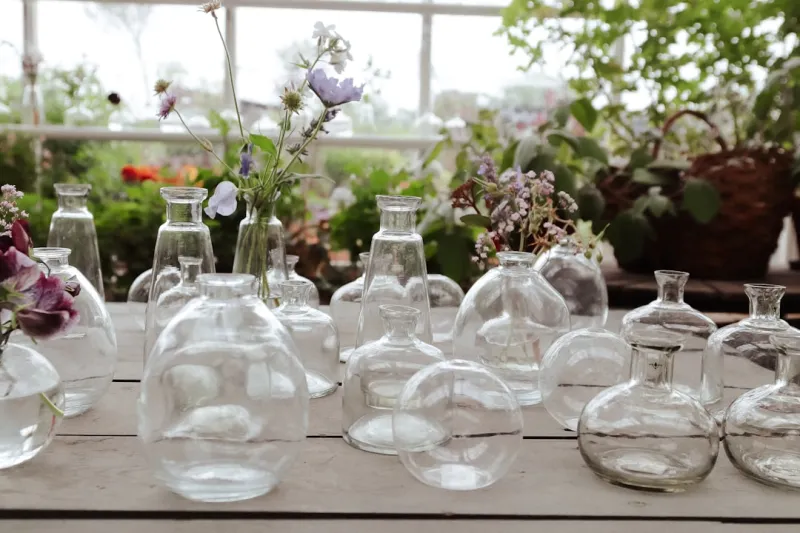
One of the best aspects of this DIY project is its simplicity; you can create a lovely herb garden using repurposed mason jars that are often found in many households. Not only does this project contribute to sustainable living by reusing glass jars, but it is also a straightforward way to learn about plant care and self-watering systems. By using mason jars, you gain not only aesthetic appeal but also the practicality of having a clear container to monitor your plants' root systems and moisture levels.
This guide is designed for beginners, so no previous gardening or DIY experience is necessary. You will find that with a few tools, simple materials, and step-by-step instructions, you can create a beautiful indoor herb garden in a matter of hours. Enjoy a home filled with the delightful aromas of fresh herbs, provide nourishment for your culinary adventures, and engage in a fulfilling hobby that enhances your living space.
Tools Needed
1. Drill: Ideal for creating drainage holes at the bottom of your mason jars for the self-watering system.
2. Drill Bits: A set containing various sizes will allow you to create holes that suit your needs.
3. Scissors: Useful for trimming wicks to the desired length and for any adjustments you may need to make to the containers or materials.
4. Spoon or Small Trowel: Essential for planting herbs into the soil without spilling or making a mess.
5. Measuring Cup: Helps you take accurate measurements of soil and water when filling your jars.
6. Twine or Cotton Wicks: Important for crafting a self-watering mechanism to direct moisture from the bottom of the jar to the soil.
7. Marker: Useful for labeling jars with the names of the herbs you are planting.
8. Plastic Wrap: This can be used as a cover to maintain humidity during the initial stages of germination.
Materials
1. Mason Jars: 3-6 jars depending on the number of herbs you want to grow.
2. Potting Soil: 2-3 quarts of good quality potting mix will provide the right nutrients for your herbs.
3. Herb Seeds or Seedlings: Choose your favorites such as basil, parsley, cilantro, and chives (1 packet each).
4. Cotton Wicks or String: About 5-10 feet for adequate water absorption.
5. Small Pebbles or Gravel: 1 quart for providing drainage in the bottom of the jars.
6. Water: Around 1-2 quarts for filling the bottom reservoir of the jars.
7. Fertilizer: Optional, but a slow-release organic fertilizer can enhance plant growth (1 small bag).
8. Labels: Stickers or paper labels to mark each herb type.
9. Saucers or Trays: For catching excess water and preventing mess (1 for each jar).
10. Sealant (optional): If you want to seal the surface of the glass for a more polished look, choose food-safe sealant.
Introduction
When you think about incorporating lush greenery into your home, the challenge often boils down to time and effort needed to maintain healthy plants. For busy individuals or those new to gardening, caring for plants can feel overwhelming. This is where a self-watering indoor herb garden is advantageous. By utilizing a simple system that automatically provides plants with moisture, you can drastically reduce the frequency of watering while turning your kitchen into a herb haven.
Moreover, growing your own herbs can lead to more flavorful meals as they infuse your dishes with freshness that dried herbs simply cannot replicate. Such herbs promote healthier eating habits and can also serve as natural remedies for various health concerns. For instance, basil can help reduce inflammation, and parsley is known for its rich vitamin content.
The self-watering design of this mason jar garden ensures that your herbs' roots always have access to moisture without the risk of overwatering, which is a common mistake among beginner gardeners. With such benefits as sustainability, cost-effectiveness, and convenience, this project can serve as both an effort to green up your home and an engaging dip into the world of gardening for enthusiasts of all skill levels.
Steps to Create Your Self-Watering Indoor Herb Garden
Step 1: Prepare Your Mason Jars
Begin by selecting the ideal mason jars for your project. Choose jars that are large enough to accommodate the herbs you intend to grow. Clean the jars thoroughly in warm, soapy water and rinse them well before use. This step is essential to eliminate any residues or chemicals that might be harmful to your plants.
Tip: If you're crafting multiple jars, consider using mismatched jars for a rustic look.
Safety: Always inspect the jars for cracks or chips, as damaged glass could cause injury during the planting process.
Step 2: Drill Holes for the Wick
Next, you will drill holes in the lids of the mason jars, which is a critical element in the self-watering system. Using your drill, make a hole in the center of each lid that is approximately 1/4 inch in diameter. This will allow the wick or cord to come through the lid and connect to the reservoir below.
Tip: If you lack a drill, you can use a heated nail or screwdriver to create a hole instead.
Safety: Always wear safety goggles and a dust mask while drilling to protect your eyes and lungs from debris.
Step 3: Prepare the Wick System
Cut lengths of cotton wick or sturdy string that are approximately 12-15 inches long. For each jar, you’ll need one wick. Insert one end of the wick through the hole in the jar lid, ensuring that it reaches down into the jar while the other end can dip into the water reservoir beneath.
Tip: If needed, tie a knot in the wick to ensure it stays in place.
Safety: When handling scissors or sharp materials, ensure your fingers are safely away from the cutting area.
Step 4: Add Gravel or Pebbles for Drainage
Pour a layer of small pebbles or gravel into the bottom of each mason jar, filling it about 1-2 inches deep. This step is crucial, as it helps create a drainage layer that prevents the roots from sitting in water, which could cause root rot.
Tip: Ensure that the gravel is clean to avoid contaminating your plants.
Safety: Wear gloves while handling gravel to avoid injury to your hands.
Step 5: Fill the Jar with Potting Soil
Following the drainage layer, add the potting soil into the jar, filling it to about 1-2 inches below the rim. Pat down the soil gently to eliminate air pockets without compacting it too tightly, as this can inhibit root growth.
Tip: Always choose quality, well-draining potting soil formulated for herbs to encourage healthy growth.
Safety: Avoid inhaling dust while handling potting soil; consider wearing a mask or working in a well-ventilated area.
Step 6: Sow Seeds or Plant Seedlings
Once the soil is in place, it’s time to plant your herbs. If you're using seeds, plant them according to the instructions on the seed packet, typically 1/4 inch deep. For seedlings, make a small hole in the soil, carefully place the seedling in, and gently cover its roots with soil.
Tip: Consider planting companion herbs together that grow well when paired, such as basil and tomatoes.
Safety: Handle the seeds and seedlings gently to avoid damaging their delicate structures.
Step 7: Water the Soil
After planting, water the soil thoroughly. Do this cautiously to avoid washing away the seeds or disturbing the seedlings. Allow excess water to drain through the wick into the gravel reservoir below. Make sure you keep an eye on the soil moisture until the herbs establish themselves.
Tip: You can use a spray bottle for more precise watering initially.
Safety: Ensure that you are not over-watering, as the excess moisture could lead to fungal issues.
Step 8: Create a Humidity Dome (Optional)
To enhance germination rates for seeds, consider creating a mini greenhouse effect by covering the jars with plastic wrap. This will help retain moisture and warmth. Just make sure to poke a few small holes in the wrap for air circulation.
Tip: If utilizing this method, remove the plastic wrap once you've observed new growth.
Safety: When using plastic wraps, ensure they do not touch the plant foliage to avoid water condensation damaging the leaves.
Step 9: Set Up Your Herb Garden
Choose a bright, indirect light location for your jars, where they will receive a good amount of sunlight. South- or west-facing windows are often ideal. Ensure the jars are placed on a tray or saucer to catch any excess water that might seep out of the bottom.
Tip: Rotate your jars every few days to ensure all sides receive light evenly, promoting uniform growth.
Safety: Take care when moving jars to avoid breaking glass and injuring yourself.
Step 10: Maintain and Monitor
Your self-watering herb garden will require regular monitoring to ensure that the wicks are functioning correctly. Check the soil moisture daily for the first week; once established, you should notice that the soil remains adequately moist due to the self-watering feature. Add water to the reservoir when it gets low, usually once a week or as needed.
Tip: Regularly prune and harvest your herbs to encourage further growth and to prevent them from becoming leggy.
Safety: Be cautious when using scissors to trim your plants; ensure you do not cut too close to the roots.
Troubleshooting Common Issues
1. Overwatering: If the plants are wilting or turning yellow, they may be receiving too much water. Ensure that the wick is not too long, preventing the soil from drying out.
2. Underwatering: If the soil feels dry and the plant appears droopy, top up the water reservoir. The wicks may need to be adjusted for better efficacy.
3. Root Rot: This occurs due to excessive moisture trapped around the roots. To alleviate root rot, remove the affected plants, allow the roots to dry, and replace the soil before replanting.
4. Pest Infestation: If you notice small bugs or webbing, inspect your plants carefully. You can use mild soapy water to eliminate pests or introduce natural predators like ladybugs.
5. Leggy Growth: If your herbs are tall and spindly, they are not getting enough light. Move them closer to a window or provide supplemental grow lights to stimulate growth.
Conclusion
Congratulations on creating your very own self-watering indoor herb garden using repurposed mason jars! Not only has this project yielded a sustainable art piece for your home, but it has also equipped you with a new set of skills in plant care. Be sure to regularly monitor your herbs, trim as needed, and enjoy the benefits of having fresh ingredients right at your fingertips.
If you're keen to mix things up, consider experimenting with different types of herbs or even incorporating different repurposed containers for variety. Remember, plant care is an evolving journey, and every effort put into growing your herbs will yield delicious rewards in your kitchen.
Maintaining this garden will not only enrich your cooking but can also improve your mental well-being, making your home a greener, more vibrant space.