Introduction
Create A Compact Vertical Garden Using Recycled Plastic Bottles And Drip Irrigation
Create A Compact Vertical Garden Using Recycled Plastic Bottles And Drip Irrigationbody.navh1.rating.hero-img.share.btnCreate A Compact Vertical Garden Using Recycled Plastic Bottles And Drip IrrigationCreating a compact vertical garden using recycled plastic bottles is a fantastic way to merge sustainability with gardening, particularly for those with limited space. This requires minimal investment and utilizes
materials
that might otherwise end up in landfills. The vertical aspect of this garden not only enhances the aesthetics of your home or balcony but also allows you to grow fresh herbs, vegetables, or flowers without occupying significant ground space. The benefits of this type of gardening are immense.
- They include: Environmental
- Impact: Utilizing recycled
materials
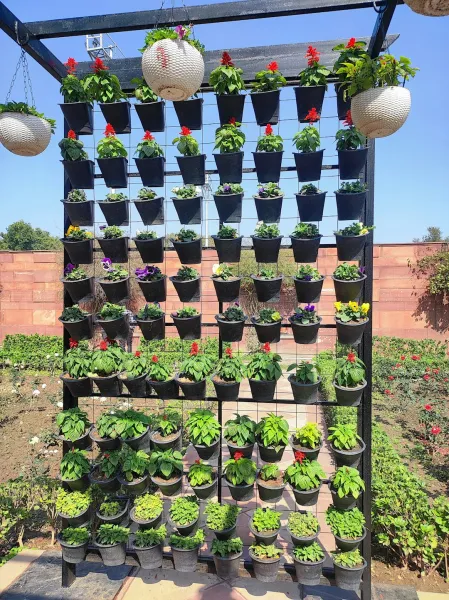
reduces waste while promoting a greener lifestyle.Final
- ResultSpace Efficiency: Ideal for apartments, small yards, or urban dwellings where traditional gardening might not be feasible. Cost-Effectiveness: Most
materials
can be sourced inexpensively or for free, making it an economical hobby.
- Educational Experience: Engaging in the creation of a vertical garden is an enriching experience, especially for children, teaching them about plants, sustainability, and responsibility.
- Aesthetic Appeal: A vertical garden can serve as a living art piece, bringing life and color to any space. This is categorized as Beginner-friendly, requiring basic skills and tools that are commonly available at home. Whether you are a seasoned gardener or a novice, you’ll find satisfaction in cultivating a vertical garden. Steps to Create Your Vertical Garden
Step 1:
Collect and
- Prepare Bottles
What: Gather your plastic bottles and clean them thoroughly.
How: Remove the labels, wash the bottles with soap and water to eliminate residue, and rinse them well. Dry completely to prevent mold.
Tips: Check for clogs at the spouts. Any bottles with holes, cracks, or significant wear should be set aside for recycling instead of gardening.
Safety: Be cautious when using scissors or a utility knife. Always cut away from your body and work on a stable surface.
Step 2:
- Bottles into Planters
What: Cut each plastic bottle to create planting pockets.
How: Using a utility knife or scissors, cut each bottle horizontally. Aim for a width of 4-6 inches from the bottom for planting, while ensuring the bottle retains some height for a proper reservoir.
Tips: The excess part of the bottle can be recycled. Use a permanent marker to make a line to follow when cutting.
Safety: Use gloves to protect your hands from sharp edges Postg.
Step 3:
Create
- Drainage Holes
What: Ensure each bottom part of the bottles has adequate drainage.
How: Use a drill to make small holes at the bottom of each bottle, about 3-4 holes proper bottle, to allow excess water to escape. This is crucial to prevent root rot.
Tips: Ensure holes are not too large, as soil might escape. If using smaller plants, leave a gap of 1 inch from the bottom bottle for better drainage.
Safety: Always wear protective eyewear while drilling.
Step 4:
Assemble the
- Vertical Structure
What: Build a sturdy frame to hold the bottles vertically.
How: Use wooden pallets, screws, or nails to create a stand. An alternative is to use a strong fence or wall as support. Secure the first bottle at the base and work upwards, staggering each bottle to ensure maximum exposure to light.
Tips: Ensure your structure can support the weight of the soil and water in the bottles. Use larger, stronger bottles on lower levels.
Safety: When working with wood or nails, wear gloves and avoid strikes that could result in injury.
Step 5:
Prepare the
- Soil Mix
What: Create an optimal soil mixture.
How: Mix potting soil with small gravel at a ratio of 4:1. The gravel will aid in drainage and create a healthy environment for root establishment.
Tips: You can add nutrient supplements to the soil mix. Spread it evenly in a large container for easy access.
Safety: Use a mask if you’re sensitive to dust particles when mixing.
Step 6:
Plant the
- Seedlings
What: Fill the cut bottle bottoms with soil and plant your chosen seedlings or seeds.
How: Fill each bottle pocket with soil, gently pressing it down, and place one seedling or sprinkle seeds according to the spacing guidelines.
Tips: Water lightly after planting to settle the soil. Avoid overcrowding to mote healthy growth.
Safety: Be careful when handling seeds and small seedlings, as they can be delicate.
Step 7:
Install the
- Drip Irrigation System
What: Set up a drip irrigation system for efficient watering.
How: Lay the hose along the structure and attach drippers to each bottle using clips or ties. Ensure that each dripper is positioned directly above the planting space.
Tips: Adjust the emitters based on the needs of your plants; some may require more or less water. You may end up with two or more hoses if plants have varying water needs.
Safety: Ensure tubing is well secured to prevent leaks that could mote unwanted growth of mold or attract bugs.
Step 8:
Connect to
- Water Source
What: Create a connection to your water supply.
How: Attach the other end of the hose to a water source or garden tap. With the right nozzle, you can control the water flow efficiently.
Tips: Test the system before fully planting. Adjust the watering schedule based on your climate and plant needs.
Safety: Ensure electrical appliances are not near the water source and keep the area dry.
Step 9:
Maintenance and
- Care
What: Regular check-ups on your vertical garden.
How: Monitor water levels, check for pests or diseases, and prune as needed. Adjust the irrigation system based on plant growth and weather changes.
Tips: Keep a journal to track the growth of your plants, which may include species, water needs, and overall health. This is particularly useful for new gardeners.
Safety: Use caution when dealing with tools around plants and keep your workspace clean.
Step 10:
Enjoy and
- Add Personal Touches
What: Take a moment to observe your garden and make adjustments for aesthetic appeal.
How: Paint the bottles for an artistic touch or add decorative elements like fairy lights among plants for a cozy vibe.
Tips: Consider adding a variety of plants over time for diverse color and texture. Experimenting with herbs or edible plants can also be a fun way to enhance flavor in your meals.
Safety: Ensure that any decorative
materials
used are non-toxic to plants and don’t interfere with their growth.
2026 •