How to "budget-friendly DIY home office organization ideas"
By Alex • Nov 12, 2025 • DIY Guide
# Budget-Friendly DIY Home Office Organization Ideas: A Step-by-Step Guide for Beginners
Hey there! I tried this last weekend, and let me tell you, I discovered some incredibly easy and budget-friendly ways to organize my home office. If you’re like me and your workspace tends to become a bit chaotic, then this guide is just for you! With a little creativity and a few simple materials, you can transform your cluttered desk into a streamlined, productive space. Let’s dive into the step-by-step process.
!
(#)
### Step 1: Assess Your Space
Before diving into the DIY projects, take a good look at your home office. Identify what you need to organize—papers, stationery, or perhaps digital devices. Make a list of what bothers you the most. I realized my desk was cluttered with loose papers, and my pens were scattered everywhere.
### Step 2: Gather Your Materials
For this project, you won’t need to break the bank. Here’s a quick list of budget-friendly items that I found helpful:
- Empty jars (for pen and pencil holders)
- Shoeboxes (perfect for keeping paperwork organized)
- Old magazines or wrapping paper (to decorate shoeboxes)
- A corkboard or foam board (for reminders)
- Twine or ribbon (to keep things together)
- S hooks or binder clips (to hang items)
- Scissors and glue
I gathered everything and felt like I was ready to start creating!
### Step 3: Create a Pen Holder
I couldn’t stand the sight of my pens scattered all over the desk, so I made a simple pen holder using an empty jar.
1. **Clean the Jar**: Wash and dry an old glass jar.
2. **Decorate (Optional)**: If you're feeling crafty, use decorative tape, wrapping paper, or paint to personalize your jar. I went for simple twine wrapped around the jar and secured it with glue.
3. **Fill**: Once decorated, fill it up with your pens, pencils, and markers.
This easy project took me only about 10 minutes and instantly made my desk look tidier!
!

(#)
### Step 4: Repurpose Shoeboxes for Paper Organization
Next, I had to tackle the mountain of paperwork. Instead of letting them stack up, I decided to use empty shoeboxes:
1. **Labeling**: Take out your shoeboxes and label them based on categories (e.g., “Invoices,” “Receipts,” “Projects”).
2. **Decorate**: Again, feel free to decorate them using old magazines or wrapping paper to make them visually appealing.
3. **Store**: Keep your important documents organized in these labeled boxes. Stack them neatly on a shelf or under your desk.
This not only cleared up my desk but also made it easy to find documents when needed!
### Step 5: Create a Corkboard or Foam Board Organizer
I found that having reminders and notes in plain sight is a game-changer. A DIY corkboard can be made in a few minutes:
1. **Choose the Board**: Grab a corkboard or foam board. If you have an old picture frame lying around, you can use that as well!
2. **Attach the Board**: Mount it on the wall above your desk or place it on your desk using an easel.
3. **Use Push Pins**: Pin your reminders, to-do lists, and inspirational quotes. You can even hang up small envelopes for business cards or loose papers.
Now, I have everything I need right in front of me, and it looks pretty good too!
### Step 6: Use Twine for a Creative Desktop Organizer
For a creative touch, I used twine to keep various items together, mainly my charging cables and other frequently-used supplies:
1. **Cut the Twine**: Cut a long piece of twine or ribbon, making sure it’s long enough to wrap around your items a few times.
2. **Bundle Cables**: Take your charging cables and bundle them together, securing them with the twine.
3. **Secure Other Items**: You can also bundle together similar items, like notepads or sticky notes.
This simple method eliminated tangles and contributed to an organized look on my desk!
### Step 7: Hang with S Hooks or Binder Clips
For those of you who struggle with low desk space, hanging things can be a lifesaver:
1. **Identify Hangable Items**: Look at what you can hang—think scissors, headphones, or your most-used notepad.
2. **Attach S Hooks/Binder Clips**: Use S hooks or binder clips attached to the side of your desk or a nearby wall to hang these items.
3. **Organize**: Arrange the items so the most-used ones are the easiest to grab.
By hanging essential items, I cleared up valuable desk space and made my office feel much more open!
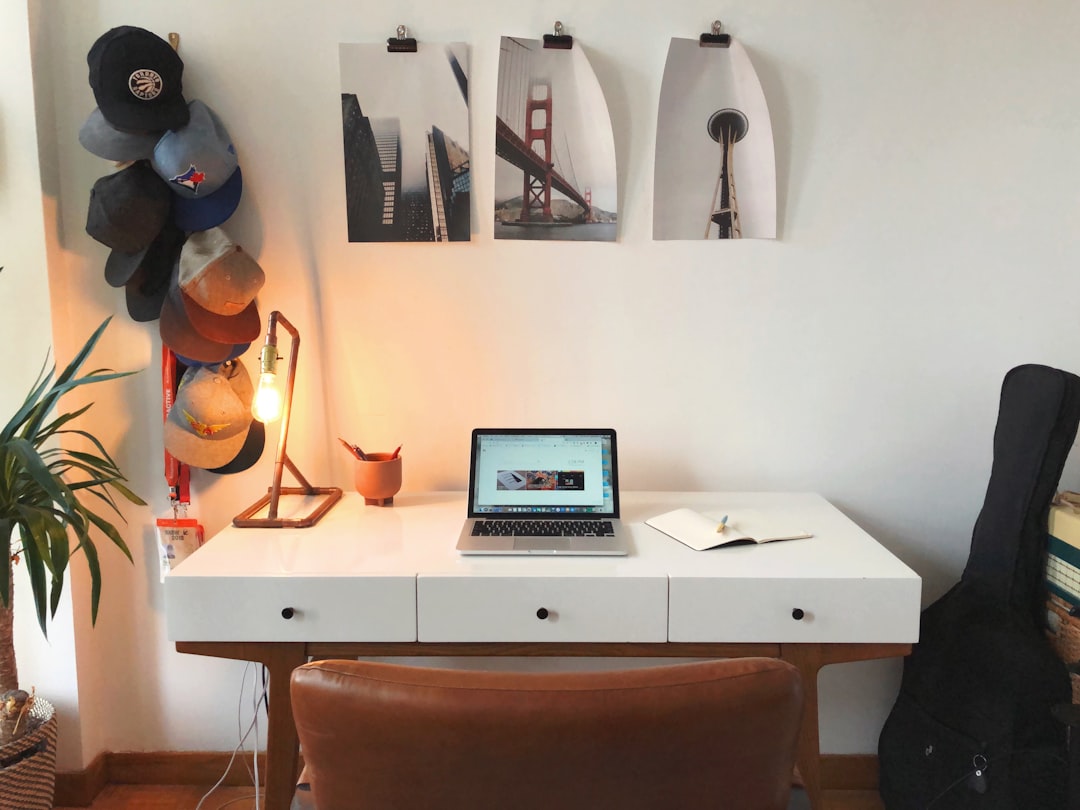
### Step 8: Personal Touch
Now that the major organizing is done, let’s add some personal flair to your home office:
1. **Add Greenery**: A small plant or succulent can do wonders for your workspace. It adds a touch of life and makes the environment more pleasant.
2. **Personal Photos/Art**: Frame a few of your favorite photos or artwork and place them around your desk or on the wall.
3. **Lighting**: If possible, incorporate a small lamp that emits soft light. Not only does it make your desk look cozy, but it also helps create a calming atmosphere.
I added a succulent and a few framed pictures, which made my space feel like a warm refuge rather than just an office.
### Step 9: Regular Maintenance
Now, we all know that keeping things organized requires a little ongoing effort:
1. **Set a Routine**: Dedicate a few minutes at the end of each day or week for quick tidying up.
2. **Review**: Check if everything is in its right place and adjust the organization as needed. Revisiting my lists and boards regularly keeps me on track.
### Step 10: Share Your Results!
Don’t forget to share your transformation! Take some before-and-after photos and show friends or family what you did. You might even inspire them to take on their own organizing project!
### Conclusion
There you have it! I hope this step-by-step guide helps you create a budget-friendly, organized home office that makes you feel inspired and productive. Remember, organization doesn’t have to be expensive or overly complicated. With a little time and creativity, you can build a workspace that truly works for you.
Happy organizing!
*By Alex, Home Hack Lab*
← Back to Home