How to "Create Your Own Upcycled Furniture Using Repurposed Pallet Wood and Eco-Friendly Paints"
Tools Needed
- DeWalt drill
- Orbital sander
- Measuring tape
- Screwdriver set
- Paintbrushes
- Safety goggles
- Dust mask
- Level
Materials
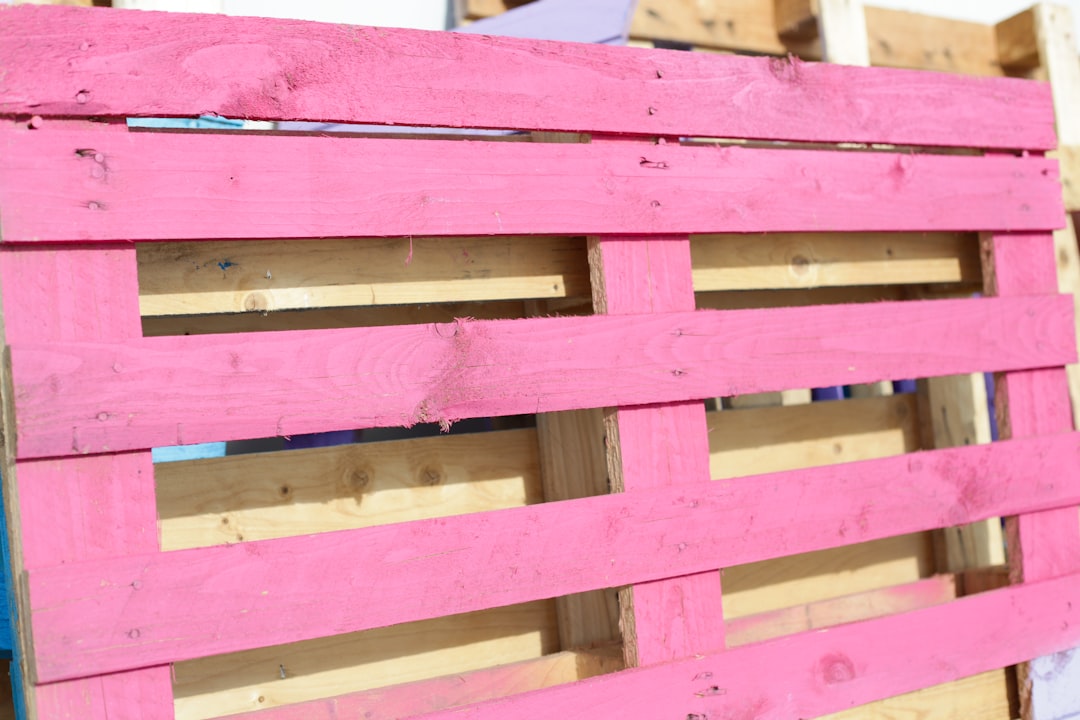
- Wooden pallets
- Eco-friendly wood glue
- Non-toxic paint or stain
- Sandpaper (various grits)
- Wood screws
- Wood filler
- Varnish (water-based for sustainability)
- Furniture legs (optional for height)
Introduction
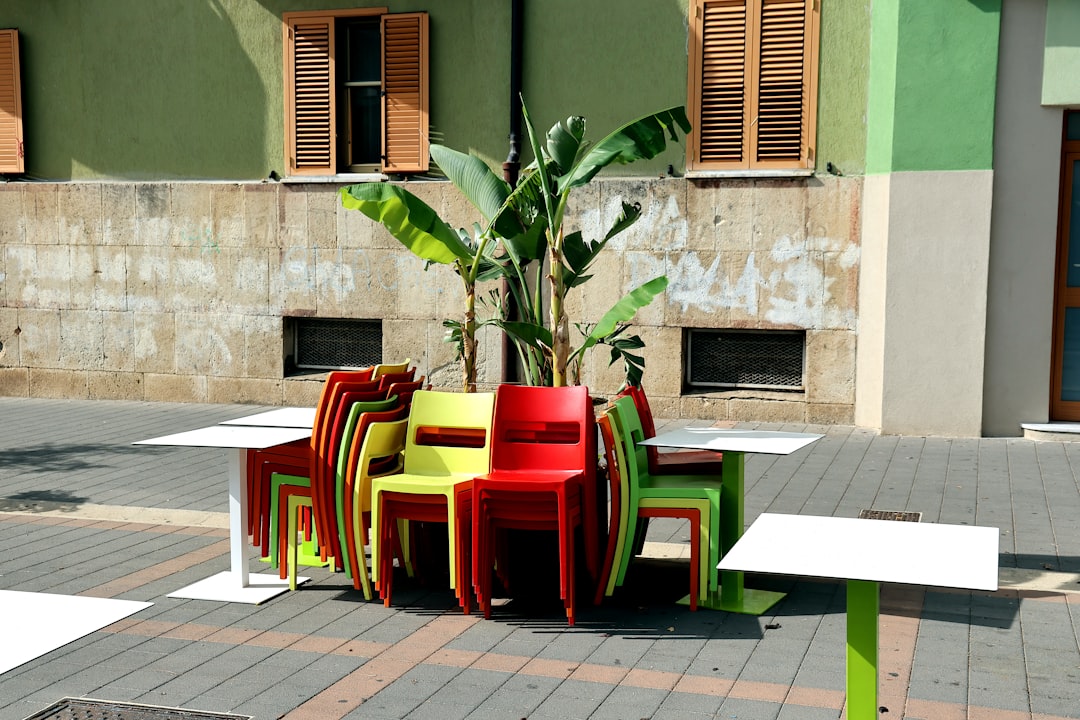
In 2025, the call for sustainable living practices is louder than ever. One of the most fulfilling ways to contribute to eco-friendly practices is through upcycling. By transforming old materials into new, functional pieces, you not only save money but also reduce waste and promote a zero-waste lifestyle. This DIY guide on creating your own upcycled furniture using repurposed pallet wood and eco-friendly paints is perfect for beginners looking to dive into the world of sustainable home decor.
Pallet wood is readily available, often for free or at a low cost, making it a budget-friendly option for your projects. Moreover, using eco-friendly paints ensures that you are not only protecting yourself from harmful chemicals but also minimizing your impact on the environment. Upcycling furniture is a creative way to express your personal style while contributing to a more energy-efficient lifestyle.
In this guide, we will walk you through the entire process, from selecting pallets to finishing touches. Expect to learn valuable tips, safety measures, and the benefits of each step. So, grab your tools and let’s get started on this exciting journey towards sustainable living.
Step 1: Gather Your Materials and Tools
Before starting any DIY project, it's crucial to gather all your materials and tools. This step ensures that you have everything you need at your fingertips, which will make the process smoother and more enjoyable. Start by sourcing your wooden pallets; check local stores, warehouses, or online marketplaces.
Safety Tip: Always wear safety goggles and a dust mask when working with wood to protect your eyes and lungs.
Common Mistake: Many beginners overlook the importance of checking the condition of the pallets. Make sure to choose pallets that are not broken or heavily damaged.
Pro Tip: Look for heat-treated pallets (marked with “HT”) to ensure they are safe for indoor use.
Step 2: Disassemble the Pallets
Once you have your pallets, the next step is to disassemble them carefully. Use your DeWalt drill to remove the nails or screws, and a pry bar to separate the wood slats.
Why It Matters: Proper disassembly allows you to utilize the wood efficiently without causing unnecessary damage.
Safety Tip: Always wear gloves to protect your hands from splinters and sharp nails.
Pro Tip: If you find stubborn nails, use the pry bar or a hammer to gently loosen the wood slats without breaking them.
Step 3: Sand the Wood
After disassembly, the next step is to sand the wood. Use an orbital sander with varying grits of sandpaper to smooth out the surfaces. Start with a lower grit to remove rough patches, then finish with a higher grit for a fine, smooth texture.
Why It Matters: Sanding not only improves the look of your furniture but also prepares the surface for painting or staining.
Common Mistake: Skipping this step or using only one grit can lead to an uneven finish.
Pro Tip: Sand in the direction of the wood grain for the best results, and always vacuum the dust off afterward to ensure a clean surface for painting.
Step 4: Assemble the Furniture Frame
Now it’s time to put together your furniture frame. Depending on your design, you may want to create a table, chair, or shelf. Use eco-friendly wood glue and wood screws to secure the pieces together.
Why It Matters: A sturdy frame is essential for the durability of your furniture.
Safety Tip: Make sure your workspace is clear of obstructions to avoid accidents while assembling.
Pro Tip: Use a level to check that everything is even and aligned correctly before the glue dries.
Step 5: Fill in Gaps and Imperfections
Once your frame is assembled, examine it for any gaps or imperfections. Use wood filler to smooth out any holes left from nails or screws.
Why It Matters: Filling gaps enhances the overall appearance and durability of your furniture.
Common Mistake: Rushing this step can lead to an unprofessional finish.
Pro Tip: Allow the wood filler to dry completely before sanding it down to ensure a seamless look.
Step 6: Choose Your Paint or Stain
Selecting the right eco-friendly paint or stain is crucial. Look for non-toxic options that are safe for indoor use. Consider a color that complements your home decor or go for a natural stain that highlights the wood grain.
Why It Matters: The paint or stain you choose will significantly affect the final look of your furniture.
Safety Tip: Always work in a well-ventilated area to avoid inhaling fumes.
Pro Tip: Test a small area first to see how the paint or stain looks on the wood before applying it to the entire piece.
Step 7: Apply the Paint or Stain
With your color selected, it’s time to apply the paint or stain. Use paintbrushes for even coverage, and apply multiple thin layers instead of one thick coat for the best results.
Why It Matters: Thin layers dry more evenly and reduce the likelihood of drips or unevenness.
Common Mistake: Forgetting to stir the paint or stain can lead to an inconsistent color.
Pro Tip: Allow adequate drying time between coats, and lightly sand between layers for a smooth finish.
Step 8: Finish with Varnish
After your paint or stain has dried, apply a water-based varnish to protect your furniture. This finish adds durability and enhances the color of your wood.
Why It Matters: Varnish not only protects against scratches and stains but also gives your furniture a professional look.
Safety Tip: Make sure your workspace is free of dust, as particles can settle on the wet varnish.
Pro Tip: Apply at least two coats of varnish for optimal protection and finish.
Step 9: Add Legs or Accessories
If you're creating a table or a shelf, consider adding furniture legs for height. These can be purchased at most home improvement stores and can dramatically change the look of your furniture.
Why It Matters: Adding legs can enhance the functionality and aesthetic appeal of your piece.
Common Mistake: Not measuring the height properly before attaching legs can lead to an awkward final product.
Pro Tip: Use a level to ensure the legs are attached evenly for stability.
Step 10: Enjoy Your Upcycled Furniture
Finally, once everything is dry and set, it’s time to enjoy your new creation! Place your upcycled furniture in your desired location and admire your hard work.
Why It Matters: Completing a project and seeing it in your space is incredibly rewarding and encourages more sustainable DIY projects in the future.
Safety Tip: Make sure everything is secure and stable before using the furniture.
Pro Tip: Share your project on social media to inspire others in the DIY community!
Troubleshooting
- Problem 1: The wood has an uneven finish. Solution: Sand the affected area and apply another coat of paint or stain, ensuring to work in thin layers.
- Problem 2: The furniture wobbles. Solution: Check the alignment of the legs or frame and adjust or add shims to stabilize.
- Problem 3: Paint or stain is peeling. Solution: This may be due to insufficient sanding. Strip the affected area and re-sand before reapplying.
- Problem 4: The wood filler is visible. Solution: Sand the filled areas more thoroughly and consider applying an additional coat of paint or stain.
- Problem 5: The furniture smells. Solution: Ensure you use low-VOC paints and varnishes, and allow the furniture to air out in a well-ventilated space.
- Problem 6: Cracks appear in the wood. Solution: This may be a result of drying too fast. Use a sealant or varnish to keep moisture balanced.
- Problem 7: The paint dries to a different color than expected. Solution: Always test the paint on a small area first and allow it to dry completely before making a final decision.
Conclusion
Creating your own upcycled furniture using repurposed pallet wood and eco-friendly paints is not only an exciting DIY project but also a meaningful contribution to sustainable living. This step-by-step guide has provided you with essential tips, safety advice, and practical solutions to common problems you might encounter along the way.
As you embark on this creative journey, remember that each project can be tailored to your taste, allowing for endless variations. Don’t hesitate to scale up your projects or share your unique creations with others. Whether you’re crafting a simple shelf or an elaborate coffee table, every piece you make contributes to a more sustainable future.
For more DIY inspirations, consider exploring topics like “How to Create Eco-Friendly Home Decor” or “Repurposing Old Furniture: Tips and Tricks.” Happy crafting!
FAQ
- What is the estimated cost and time for "Create Your Own Upcycled Furniture Using Repurposed Pallet Wood and Eco-Friendly Paints"? The estimated cost can range from $50 to $150, depending on materials and tools you already own. The project typically takes a weekend to complete, allowing time for drying.
- Is "Create Your Own Upcycled Furniture Using Repurposed Pallet Wood and Eco-Friendly Paints" suitable for renters? Yes, this project is perfect for renters since it allows you to create unique pieces that can easily be moved or taken with you when you relocate.
- Can I use pallets that have been treated with chemicals? It is best to avoid chemically treated pallets as they can release harmful toxins. Look for heat-treated pallets, which are safe for indoor use.
- What tools do I need for this project? Essential tools include a DeWalt drill, orbital sander, measuring tape, and a screwdriver set. Safety gear like goggles and dust masks are also crucial.
- How can I ensure the paint adheres well to the wood? Properly sanding the wood and applying a primer can greatly enhance paint adhesion and ensure a smooth finish.
- Can I customize the dimensions of the furniture? Absolutely! You can adjust the measurements of your furniture to fit your space and needs.
- What types of eco-friendly paints can I use? Look for water-based paints with low VOCs and non-toxic labels to ensure a safe and environmentally friendly finish.